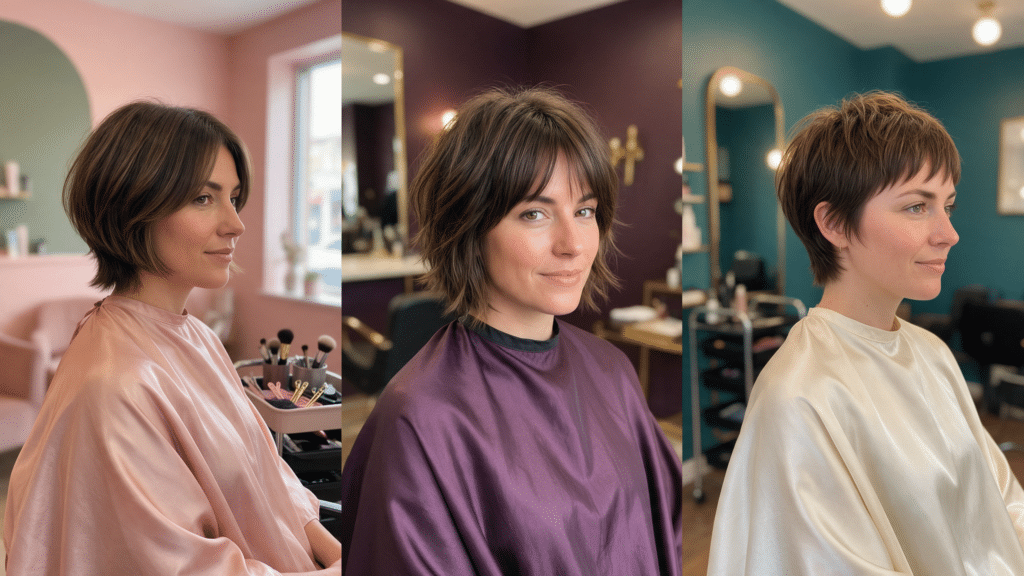
Three inches of point cut layers on top and a dab of matte paste worked through is all a pixie shag needs on a work morning, and the lift at the crown usually still holds by mid-afternoon. That short crown layering is why a pixie shag haircut over 50 suits fine to medium hair, with a trim every five weeks.
1. Classic Pixie Shag

Credit: Instagram
The classic pixie shag is where I start with a pixie shag haircut over 50 because it keeps length at the crown and takes the sides short. I cut the sides and back with scissor over comb on dry hair, then point cut the top to three inches and razor the ends. It suits fine to medium density and oval or heart faces. Rub a matte paste between your palms and push the top forward. Trim every five weeks.
2. Pixie Shag With Long Fringe

Credit: Instagram
A long fringe on a pixie shag is styled with one brush. I cut the back and sides with graduation on dry hair, point cut the crown short, and leave the fringe long to the cheekbone with razored ends. It suits fine to medium density and round or square faces. Blow-dry the fringe across with a flat brush and push the crown up with paste. Trim every five weeks and gloss every eight.
3. Silver Pixie Shag

Natural silver reads brighter on a pixie shag because the choppy ends catch light. I cut the sides short with scissor over comb on dry hair, point cut the top to three inches, and chop the ends so each piece is a different length. It suits fine to medium density and oval or round faces. Rough-dry with a texture spray and use a violet shampoo weekly. Trim every five weeks.
4. Chic Shag Haircut Over 50 With Undercut

Credit: Instagram
The chic shag haircut over 50 version with an undercut takes the weight off the nape so the top sits fuller. I clipper the nape on dry hair, point cut the top to three inches, and razor the layers through the crown. It suits fine to medium density and oval or square faces. Blow-dry the top back with a flat brush and set with a light paste. Trim the undercut every three weeks.
5. Pixie Shag for Fine Hair

Credit: Instagram
Fine hair over 50 takes a pixie shag with point cut layers, not razored, so the ends keep weight. I cut the sides short with scissor over comb on dry hair and point cut the top to two and a half inches with short crown layers for lift. It suits fine density and oval or heart faces. Blow-dry upside down with a root lifting mousse and finish with a dry texture spray. Trim every five weeks.
6. Pixie Shag With Curtain Bangs
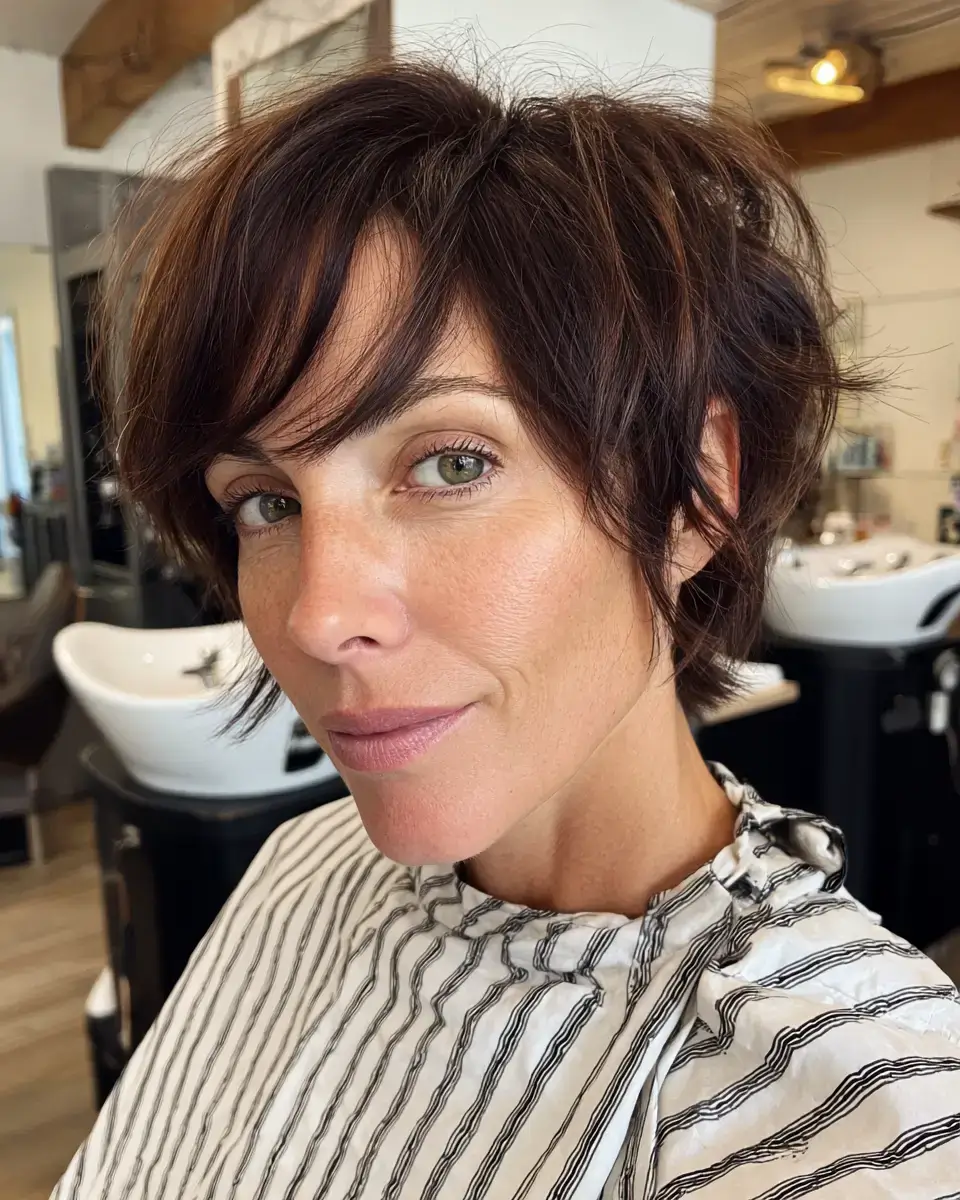
Curtain bangs on a pixie shag frame the eyes and hide a high forehead. I cut the back and sides with graduation on dry hair, point cut the crown short, and cut the bangs from the nose to the cheekbone, splitting at the center. It suits fine to medium density and square or round faces. Blow-dry the bangs out with a round brush and the crown up. Trim the bangs every five weeks.
7. Razor Cut Pixie Shag
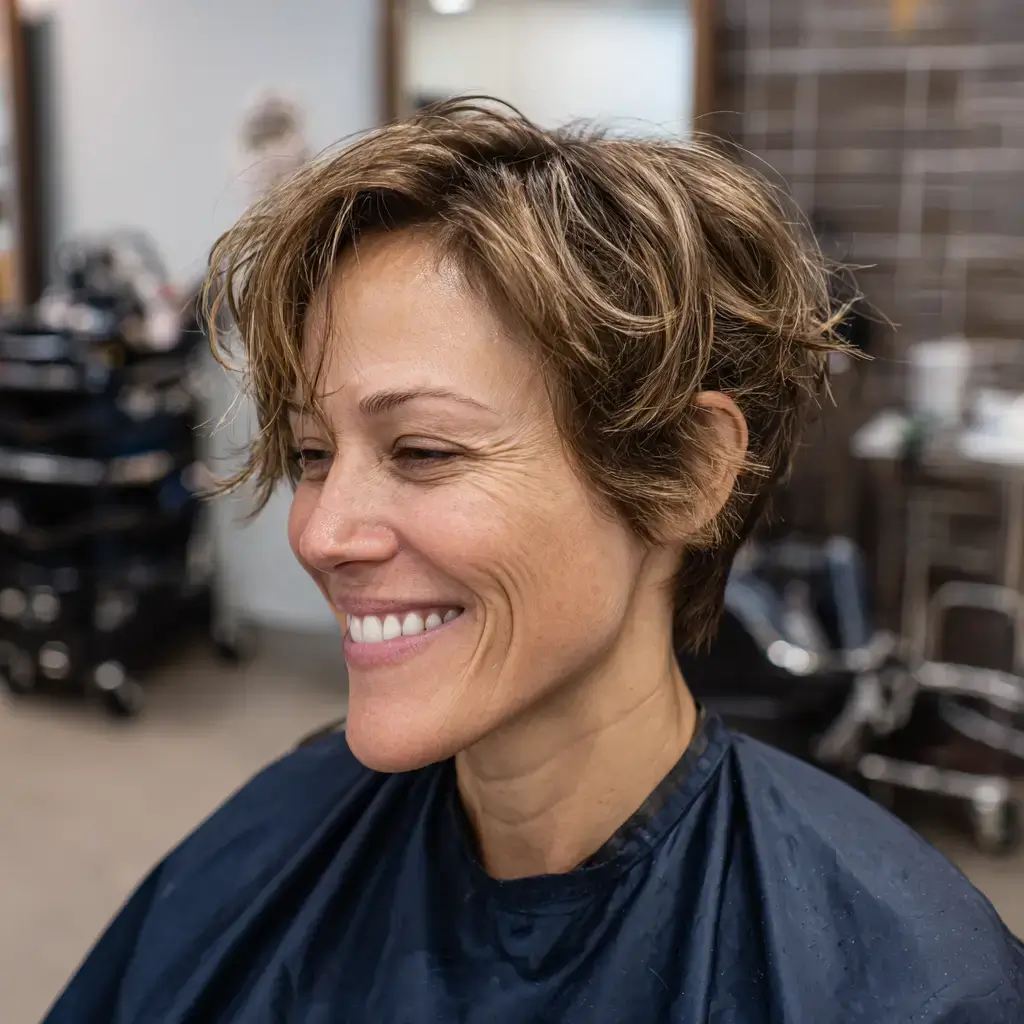
A razor cut pixie shag has ends that taper, which hides thin ends on fine hair. I cut the sides and back with scissor over comb on dry hair, then razor every layer through the top and slide cut the interior. It suits fine to medium density and oval or round faces. Air-dry with a light mousse and push the top around with your fingers. Trim every five weeks because razored ends split faster.
8. Pixie Shag for Thick Hair
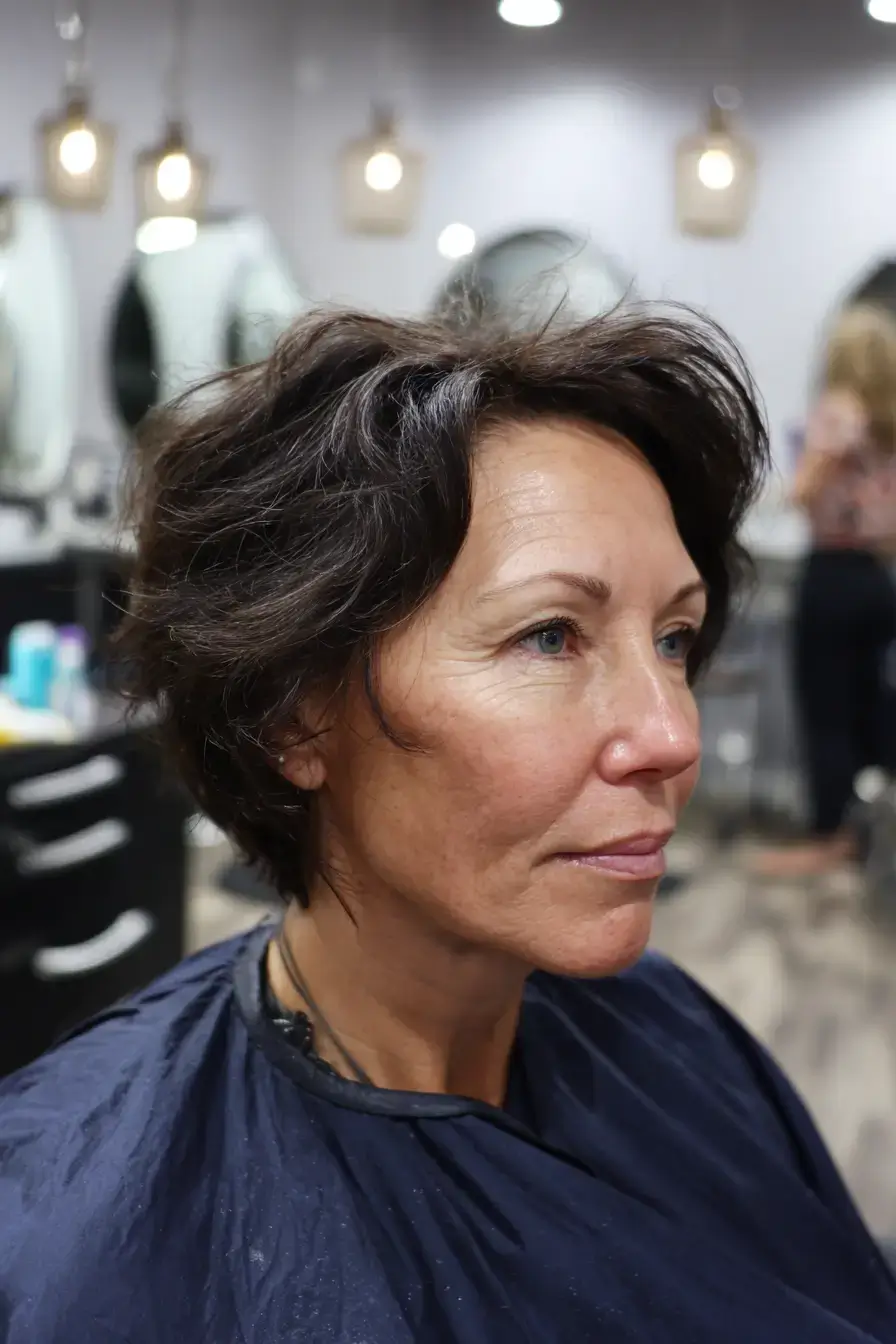
Thick hair over 50 takes a pixie shag with the interior thinned so the top does not stand like a brush. I cut the sides short with scissor over comb on dry hair, point cut the top to three inches, and remove a third of the bulk with thinning shears. It suits thick density and oval or square faces. Rub a matte paste between your palms and push the top up. Trim every five weeks.
9. Bixie Shag

Credit: Instagram
The bixie shag is a pixie at the back with a bob at the front, and it is the chic shag haircut over 50 that I cut most often. I cut the nape short with graduation on dry hair, let the front fall to the cheekbone, and point cut choppy layers through the top. It suits fine to medium density and oval or round faces. Blow-dry with a flat brush pushing the front forward. Trim every five weeks.
10. Pixie Shag With Side Swept Bangs
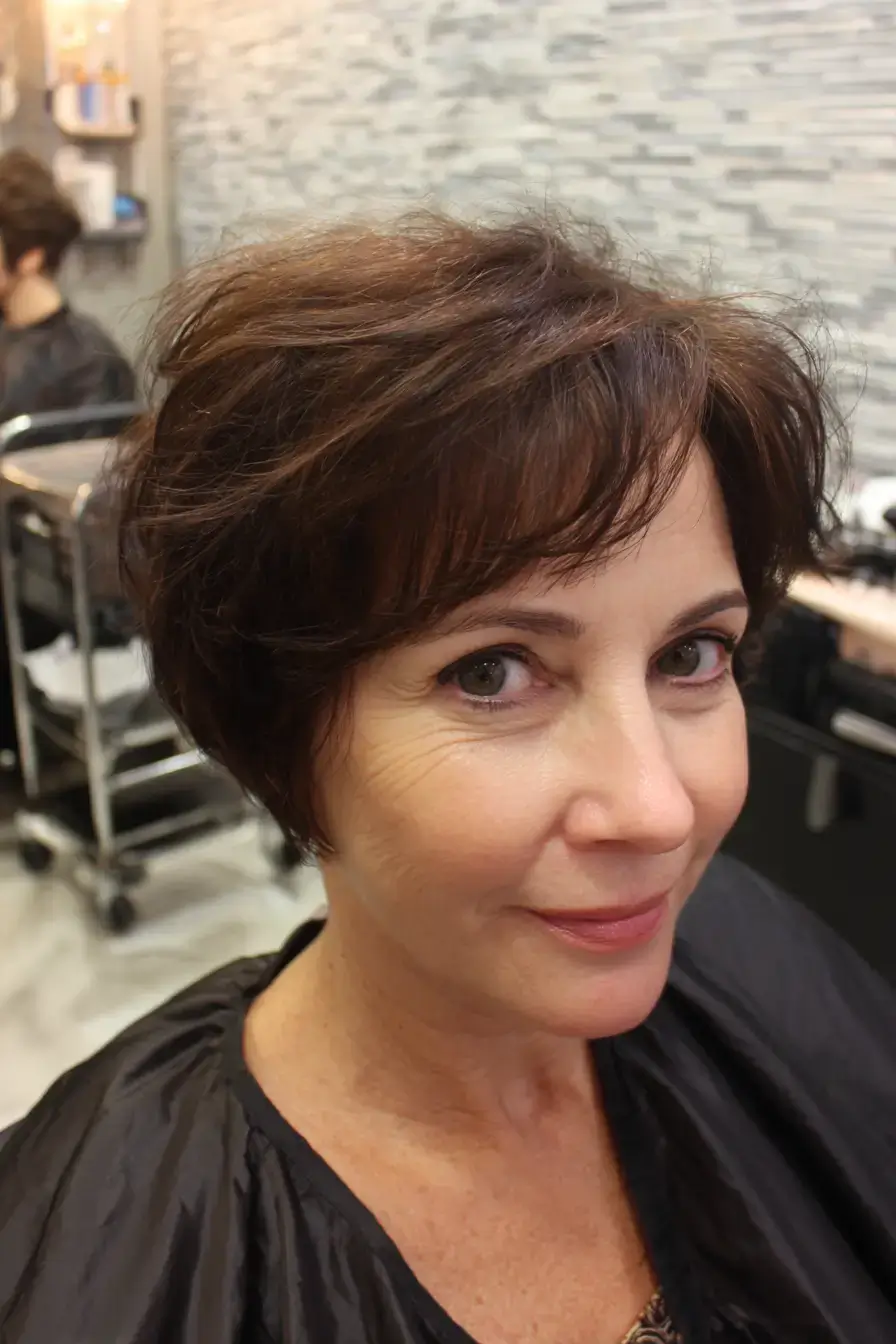
Side swept bangs on a pixie shag soften a square jaw. I cut the back and sides with graduation on dry hair, point cut the crown short, and leave the bangs long to the cheekbone, swept to one side with point cut ends. It suits fine to medium density and square or round faces. Blow-dry the bangs across with a flat brush. Trim every five weeks and gloss every eight.
11. Pixie Shag for Round Faces
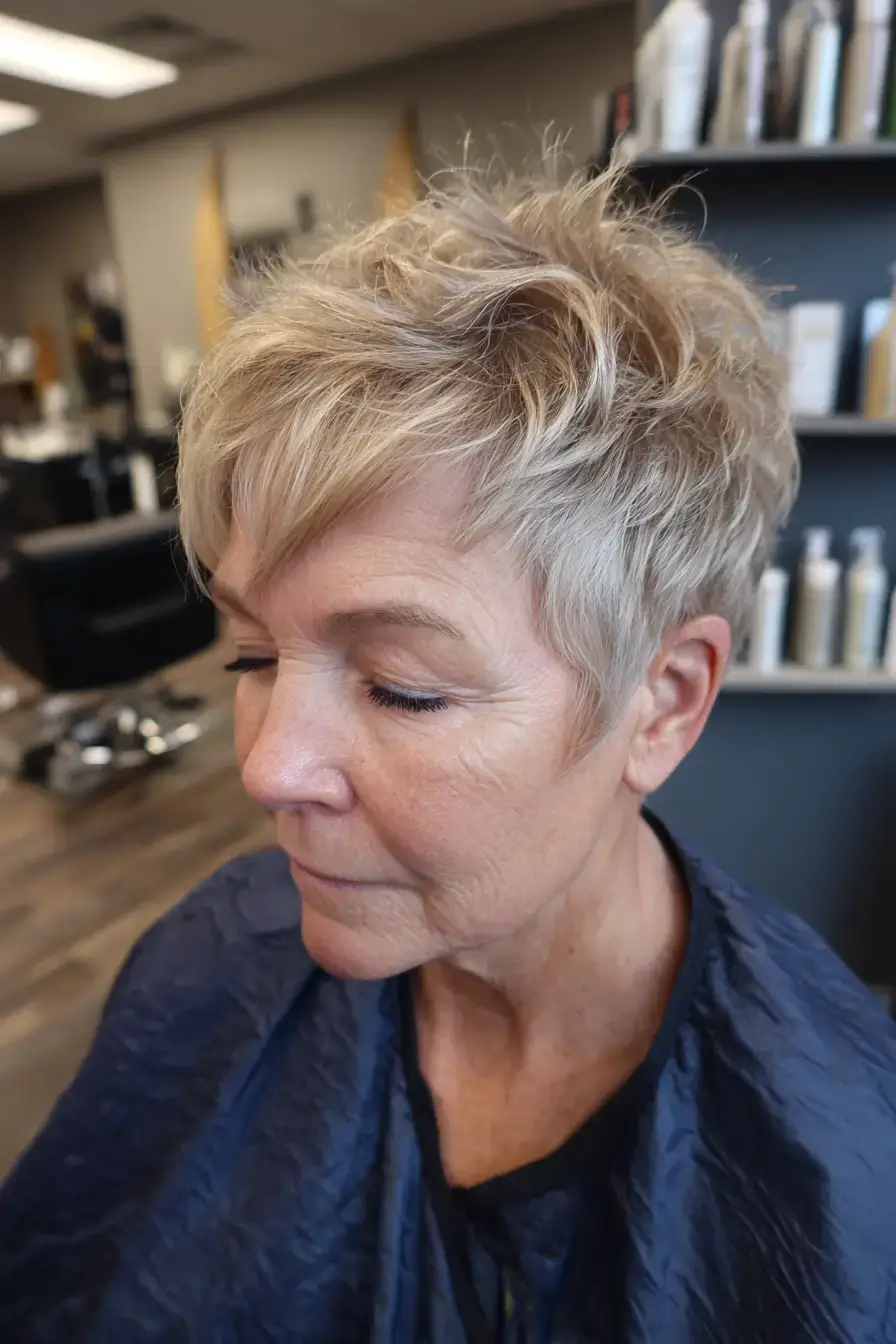
A round face takes a pixie shag with height at the crown and the sides kept close. I cut the sides short with scissor over comb on dry hair, point cut the crown to three and a half inches so it stands, and keep the fringe to the brow. It suits fine to medium density and round faces. Blow-dry the crown up with a flat brush and set with paste. Trim every five weeks.
12. Pixie Shag With Wispy Bangs

Wispy bangs on a pixie shag cover the forehead without taking density from the crown. I cut a shallow section on dry hair, point cut the bangs at the brow with the shears vertical, and keep the top at three inches with razored layers. It suits fine density and oval or long faces. Blow-dry the bangs flat with a small brush and the top up. Trim the bangs every four weeks.
13. Gray Blending Pixie Shag
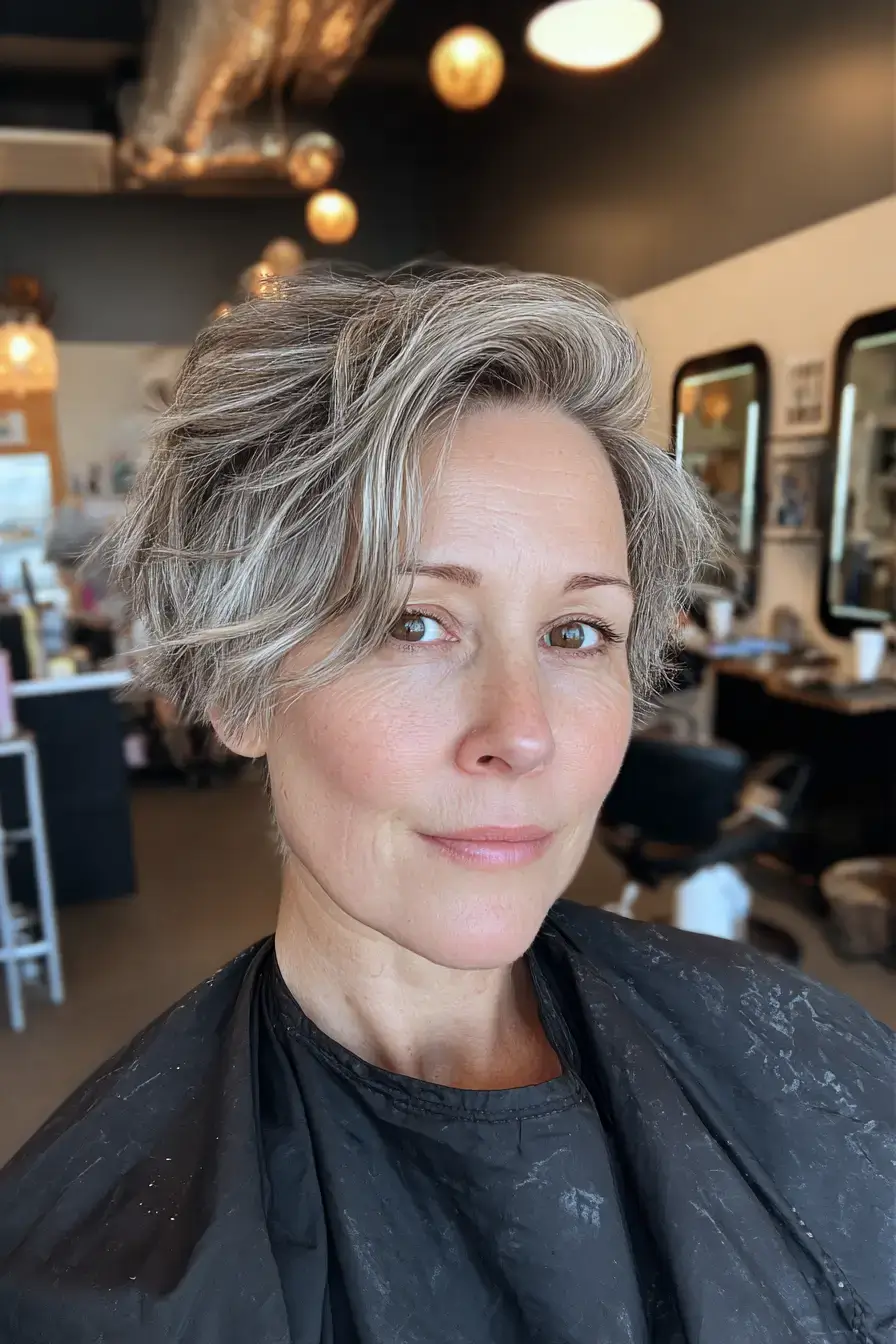
Gray blending on a pixie shag replaces full root cover with fine highlights through the top. I cut the sides short with scissor over comb on dry hair, point cut the top to three inches, then weave fine highlights and lowlights so the regrowth disappears. It suits fine to medium density and most face shapes. Rough-dry with a texture spray. Trim every five weeks and refresh the blending every twelve.
14. Choppy Pixie Shag

A choppy pixie shag is point cut deep so every piece stands apart from the next. I cut the sides and back with scissor over comb on dry hair, then point cut an inch deep into the top so nothing sits in a line. It suits fine to medium density and oval or square faces. Rough-dry with a texture spray and separate the pieces with paste. Trim every five weeks.
15. Pixie Shag With Glasses
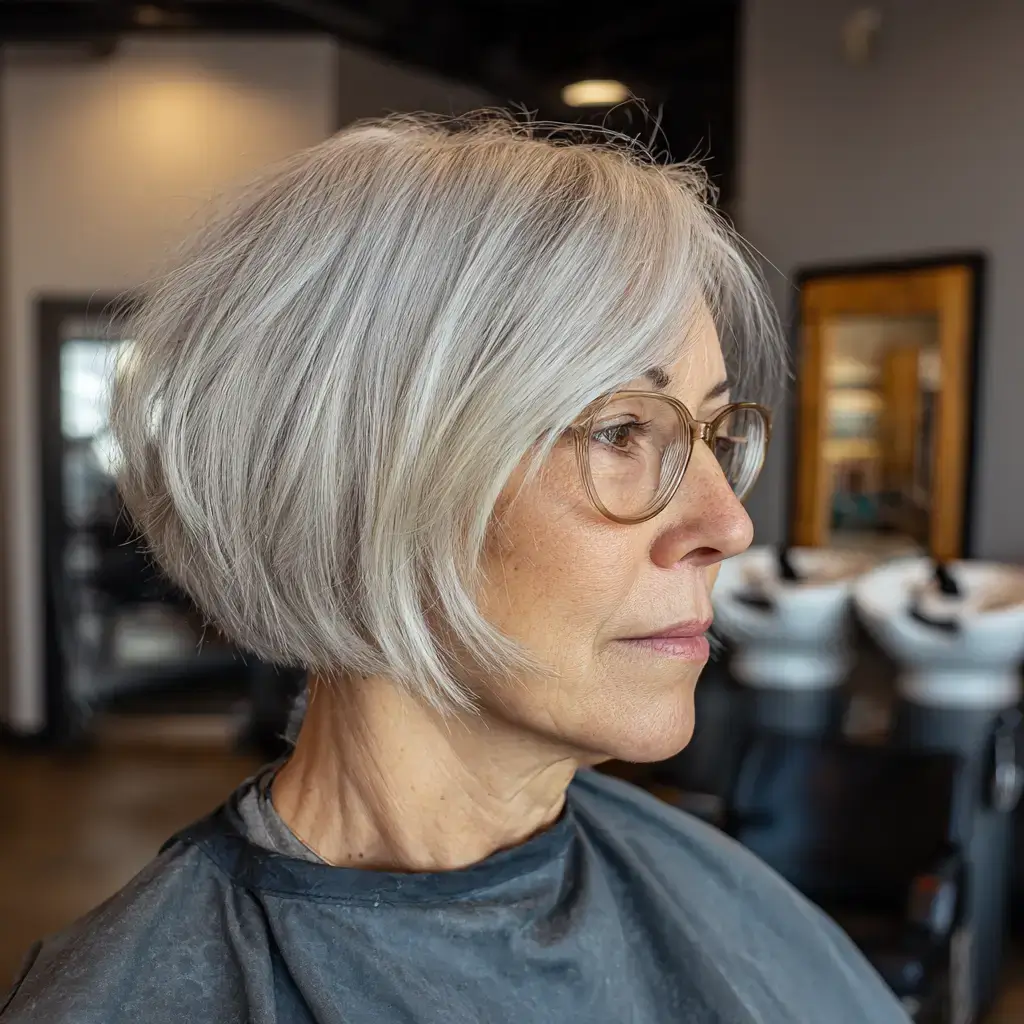
A pixie shag with glasses needs the fringe cut while the frames are on so it clears the top edge. I cut the back and sides with graduation on dry hair, point cut the crown short, and cut the fringe to the brow with the client wearing her glasses. It suits fine to medium density and most face shapes. Blow-dry the fringe flat with a small brush. Trim every four weeks.
16. Pixie Shag for Wavy Hair
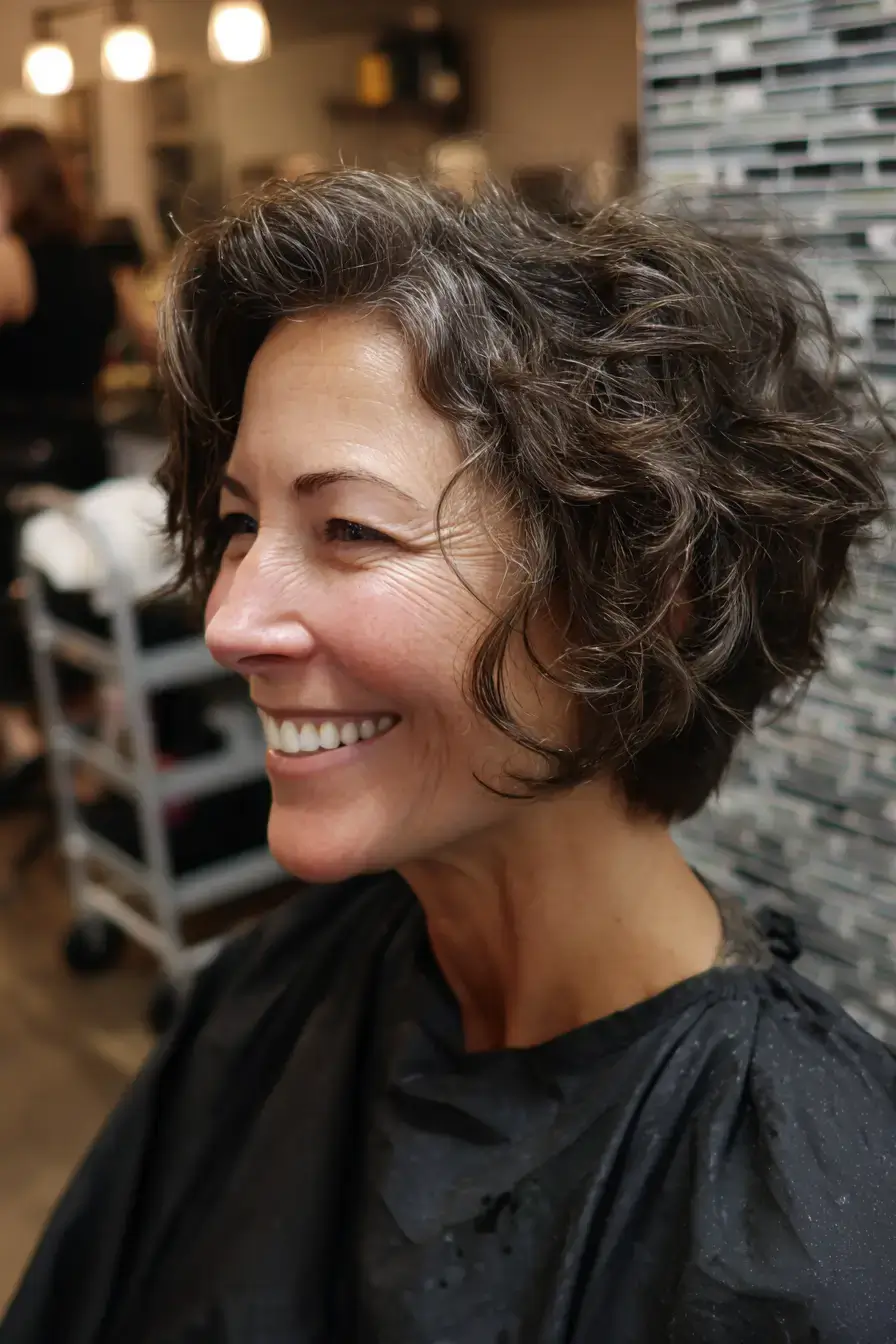
Wavy hair over 50 takes a pixie shag cut dry so the waves land where they sit. I cut the sides short with scissor over comb on dry hair and point cut the top to three and a half inches, leaving the waves intact. It suits medium density and type 2B to 2C waves. Apply a curl cream to damp hair, scrunch the top, and diffuse on low. Trim every six weeks.
17. Pixie Shag With Face Framing Pieces
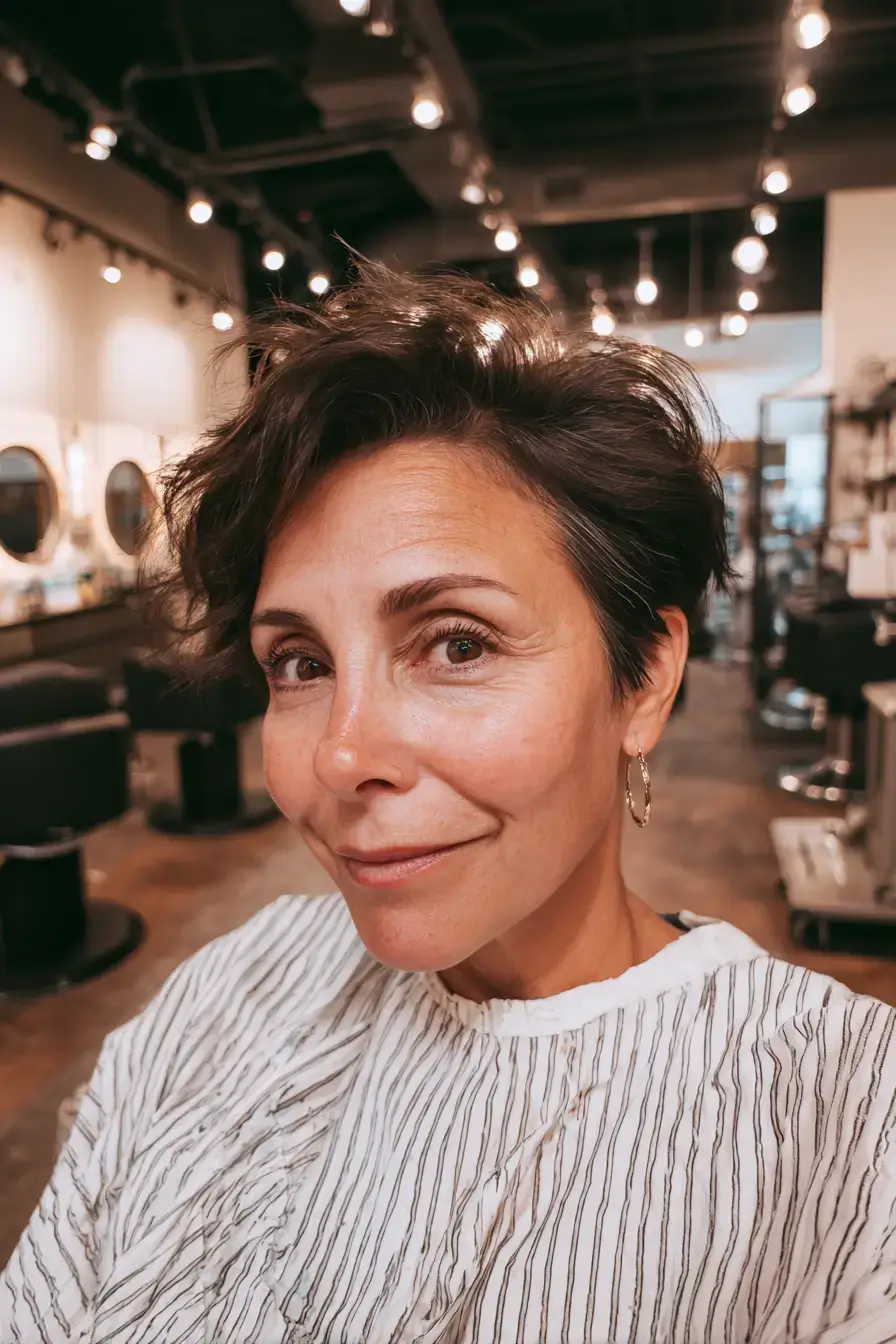
Face framing pieces on a pixie shag soften the cheekbone. I cut the back with graduation on dry hair, point cut the crown short, and leave two pieces at the temple long to the cheekbone with razored ends. It suits fine to medium density and square or round faces. Blow-dry the pieces forward with a flat brush and the crown up. Trim every five weeks and gloss every eight.
18. Shaggy Crop

A shaggy crop is the shortest chic shag haircut over 50 that still reads soft. I cut the sides and back with scissor over comb on dry hair and point cut the top to two and a half inches, roughing the ends. It suits fine to medium density and oval or heart faces. Rub a matte paste between your palms and push the top in any direction. Trim every four weeks because the sides show growth fast.
19. Pixie Shag With Long Layers on Top
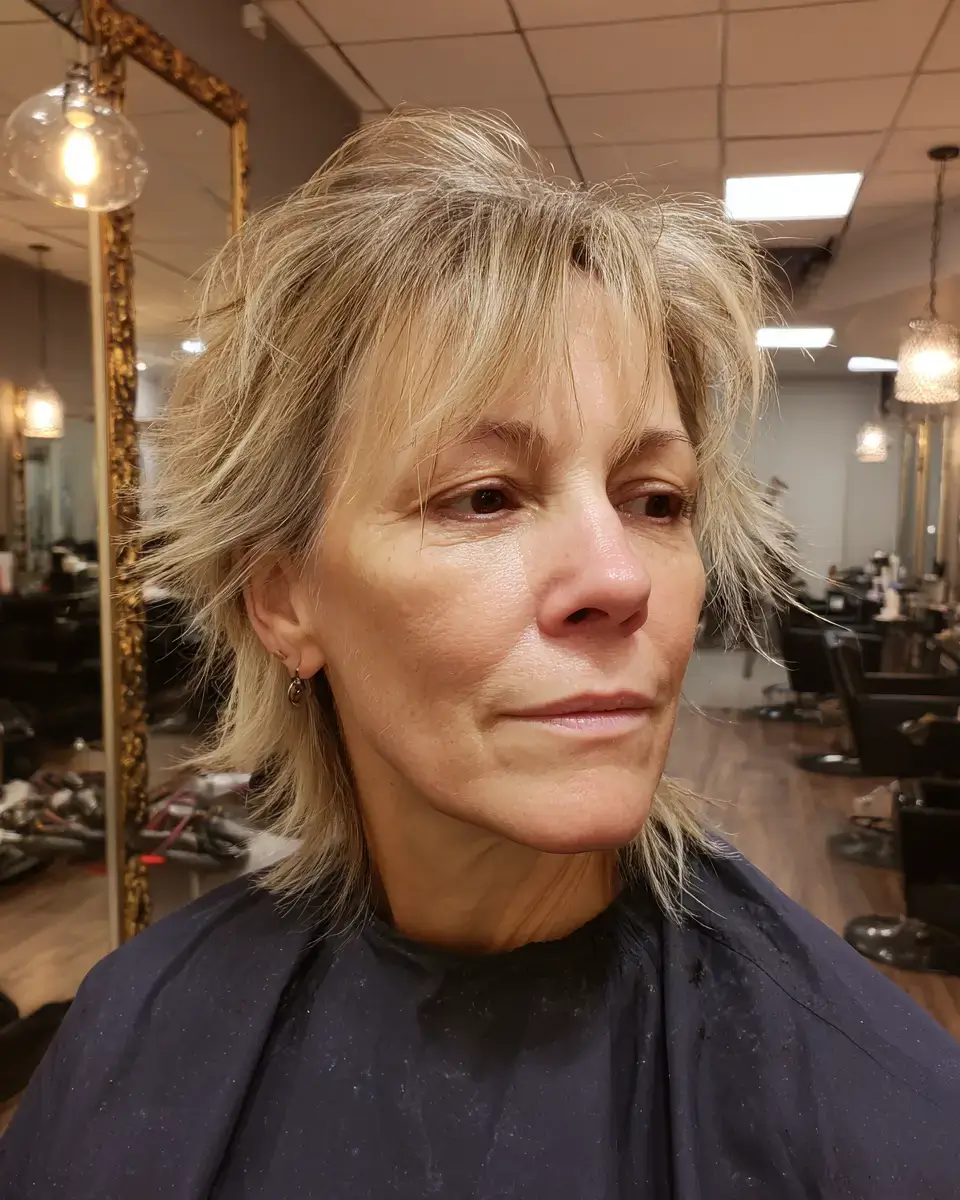
Long layers on top of a pixie shag give the crown somewhere to go. I cut the sides short with scissor over comb on dry hair and leave the top at four inches, point cut so it can be pushed back or forward. It suits medium density and oval or long faces. Blow-dry the top back with a round brush and set with a light paste. Trim every six weeks and gloss every eight.
20. Copper Pixie Shag

Copper on a pixie shag reads bright against skin that has lost some color. I cut the sides short with scissor over comb on dry hair, point cut the top to three inches with razored ends, then apply a permanent copper at the bowl. It suits fine to medium density and most face shapes. Rough-dry with a texture spray. Trim every five weeks and refresh the copper every five because it fades fast.
21. Pixie Shag for Square Faces

A square face takes a pixie shag with softness at the jaw and the fringe swept. I cut the back and sides with graduation on dry hair, point cut the crown short, and leave the sides a little longer with razored ends at the jaw. It suits fine to medium density and square faces. Blow-dry the fringe across with a flat brush. Trim every five weeks and gloss every eight.
22. Pixie Shag With Stacked Back

A stacked back on a pixie shag adds height where fine hair falls flat. I cut the nape short with graduation on dry hair, stack the layers up to the crown, and point cut choppy layers through the top. It suits fine to medium density and round or square faces. Blow-dry the back with a round brush rolling under and the top up. Trim every five weeks and gloss every eight.
23. Tousled Pixie Shag
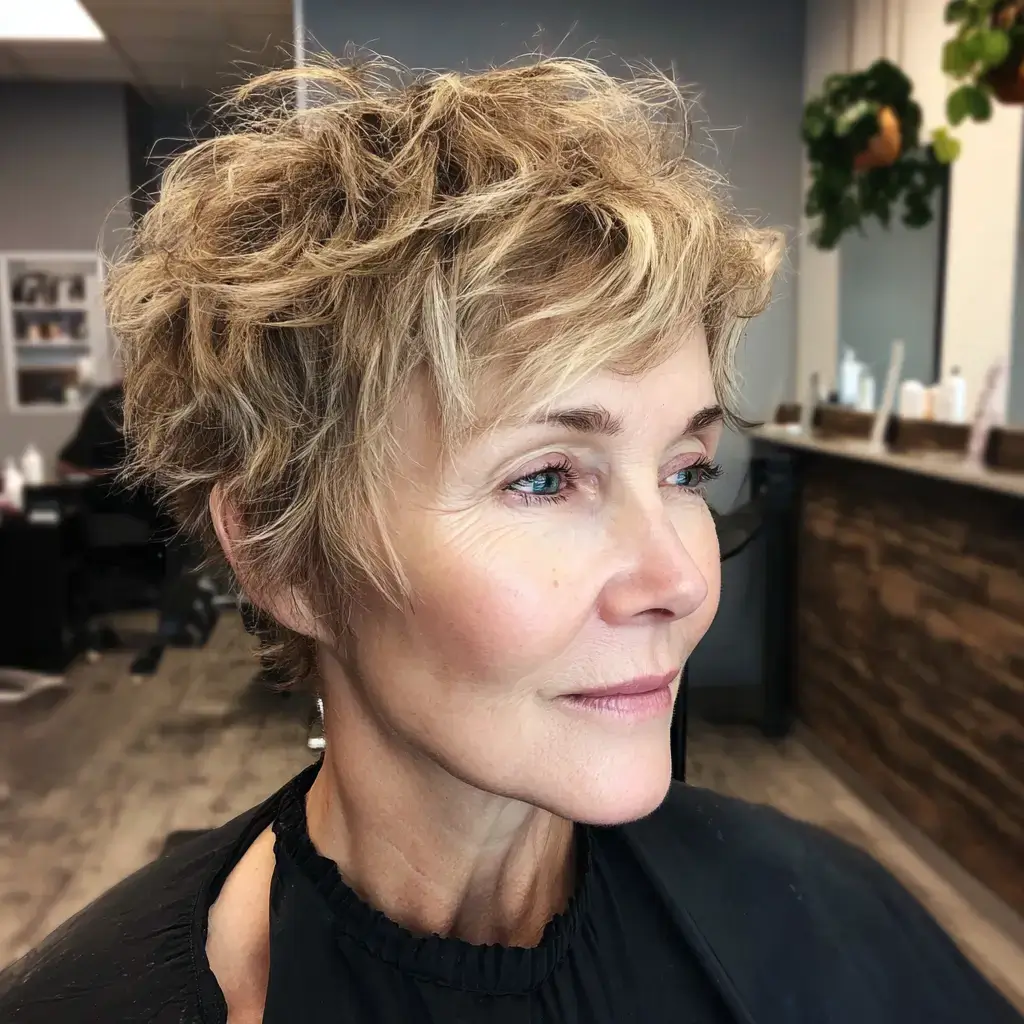
A tousled pixie shag is cut to be dried with your hands. I cut the sides short with scissor over comb on dry hair, point cut deep into the top, and razor the ends so nothing sits in a line. It suits fine to medium density and oval or round faces. Apply a sea salt spray to damp hair, scrunch the top, and leave it. Trim every five weeks and gloss every eight.
24. Pixie Shag for Thinning Crown
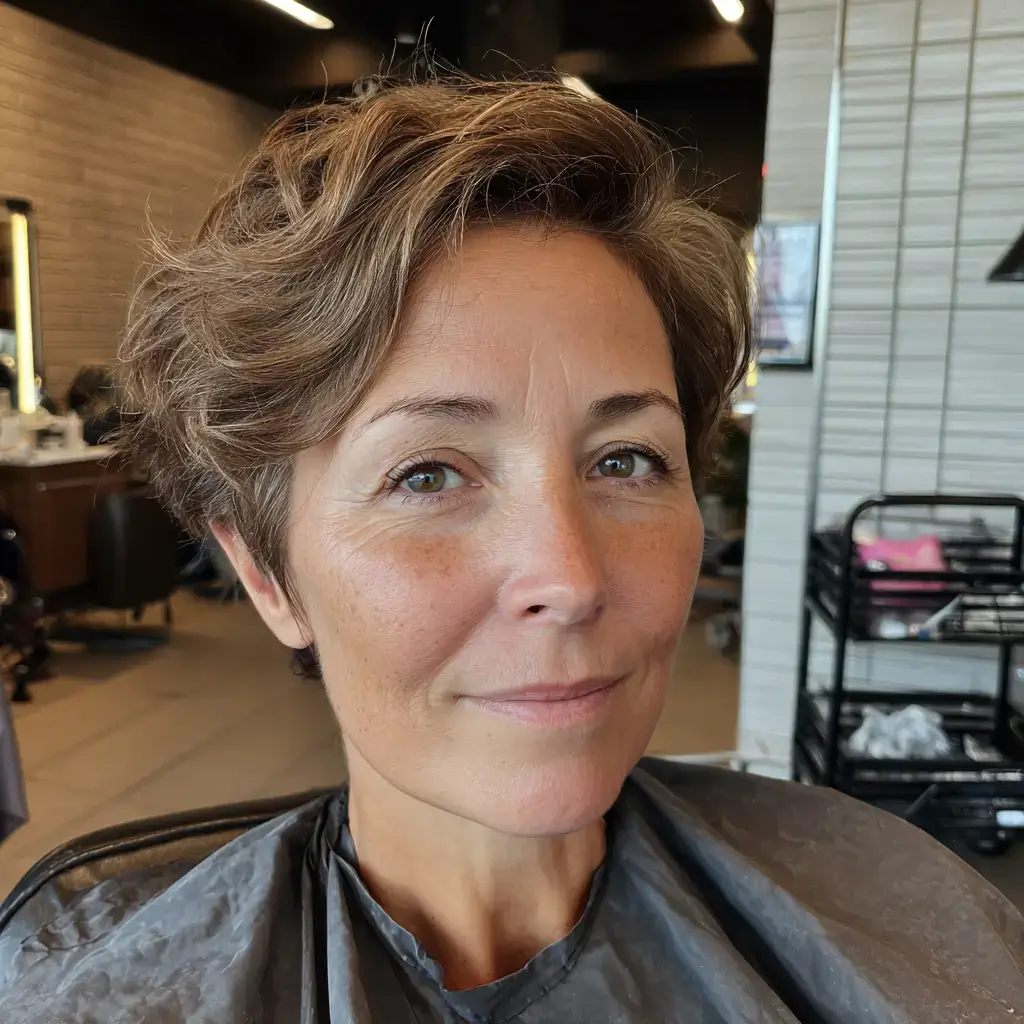
A thinning crown over 50 takes a pixie shag with the side layers directed back over it. I cut the sides short with scissor over comb on dry hair, point cut the crown to two inches, and direct the front layers back so they cover the crown. It suits fine density and most face shapes. Blow-dry back with a round brush and set with hairspray. Trim every five weeks.
25. Pixie Shag With Micro Bangs

Micro bangs on a pixie shag sit an inch above the brow and suit women who want the forehead visible. I cut the sides short with scissor over comb on dry hair, point cut the top to three inches, and cut the bangs with a straight line an inch above the brow. It suits medium to thick density and oval or long faces. Blow-dry the bangs flat and the top up. Trim the bangs every three weeks.
26. Pixie Shag for Heart Shaped Faces
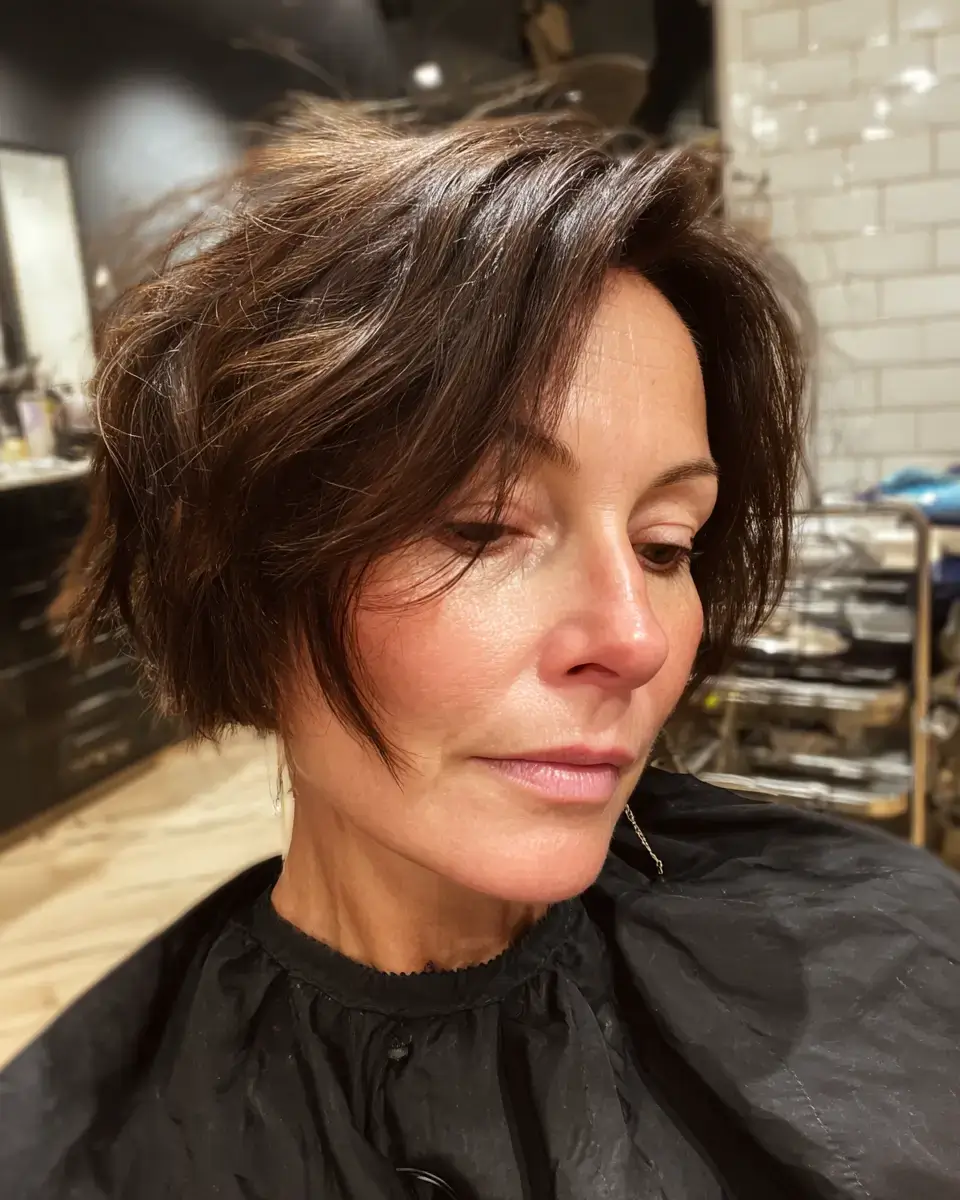
A heart shaped face takes a pixie shag with width at the jaw and a soft side fringe. I cut the back with graduation on dry hair, point cut the crown short, and leave the sides long to the jaw with razored ends. It suits fine to medium density and heart faces. Blow-dry the sides out with a round brush and the fringe across. Trim every five weeks and gloss every eight.
27. Asymmetrical Pixie Shag
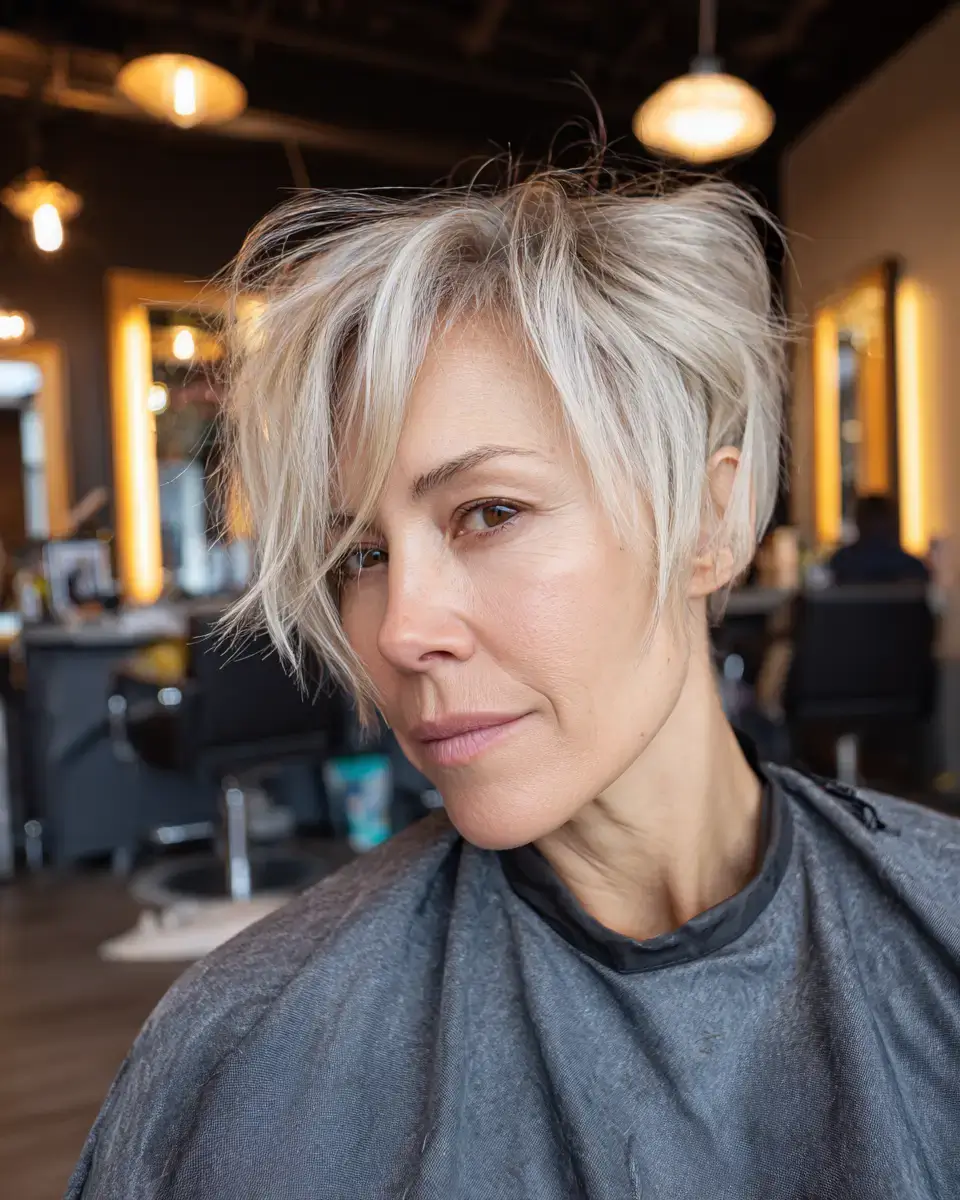
An asymmetrical pixie shag keeps one side at the ear and the other at the jaw. I cut the short side with scissor over comb on dry hair, leave the long side to the jaw with razored ends, and point cut choppy layers through the top toward the long side. It suits fine to medium density and round or square faces. Blow-dry the long side across with a flat brush. Trim every five weeks.
28. Pixie Shag With Dark Roots
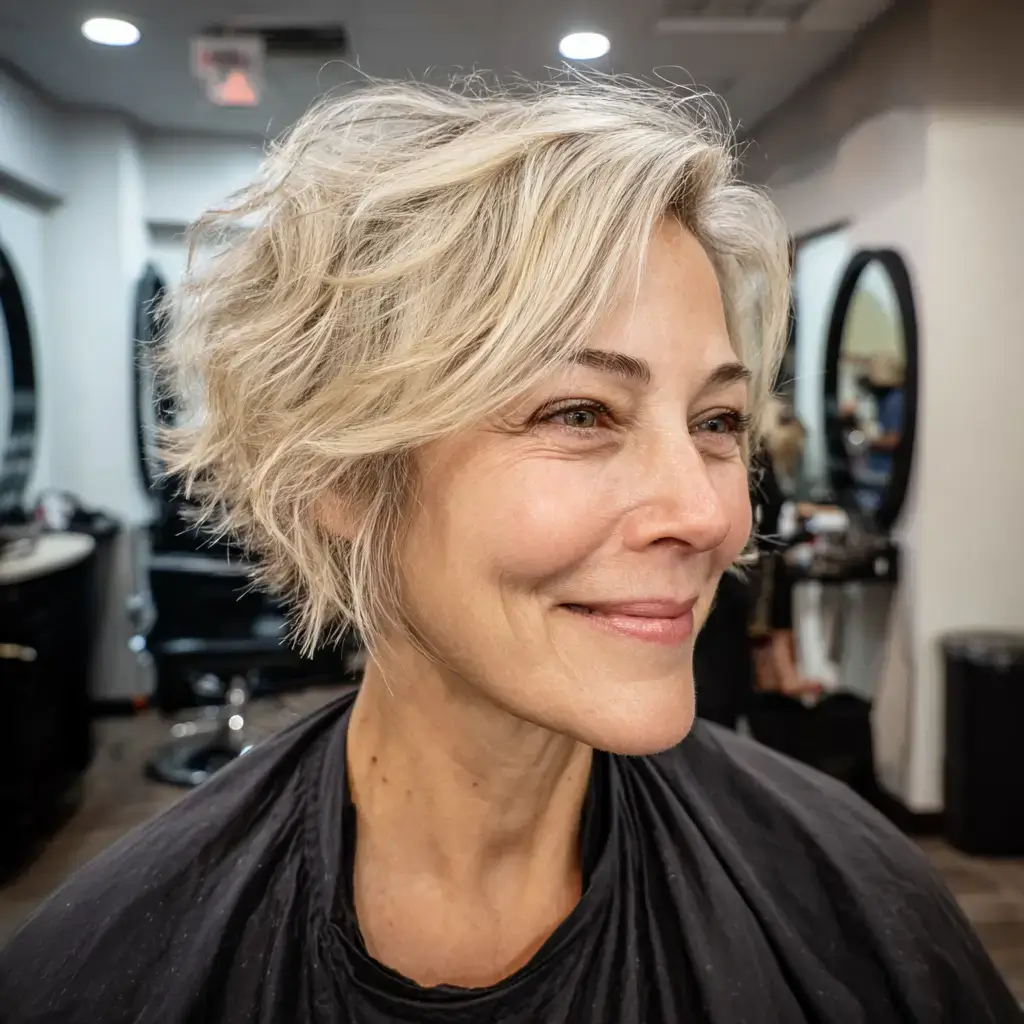
Dark roots under blonde ends give a pixie shag depth at the scalp. I cut the sides short with scissor over comb on dry hair, point cut the top to three inches with razored ends, then keep the roots natural and gloss the ends a soft blonde. It suits fine to medium density and most face shapes. Rough-dry with a texture spray. Trim every five weeks and refresh the blonde every ten.
29. Pixie Shag With Textured Top
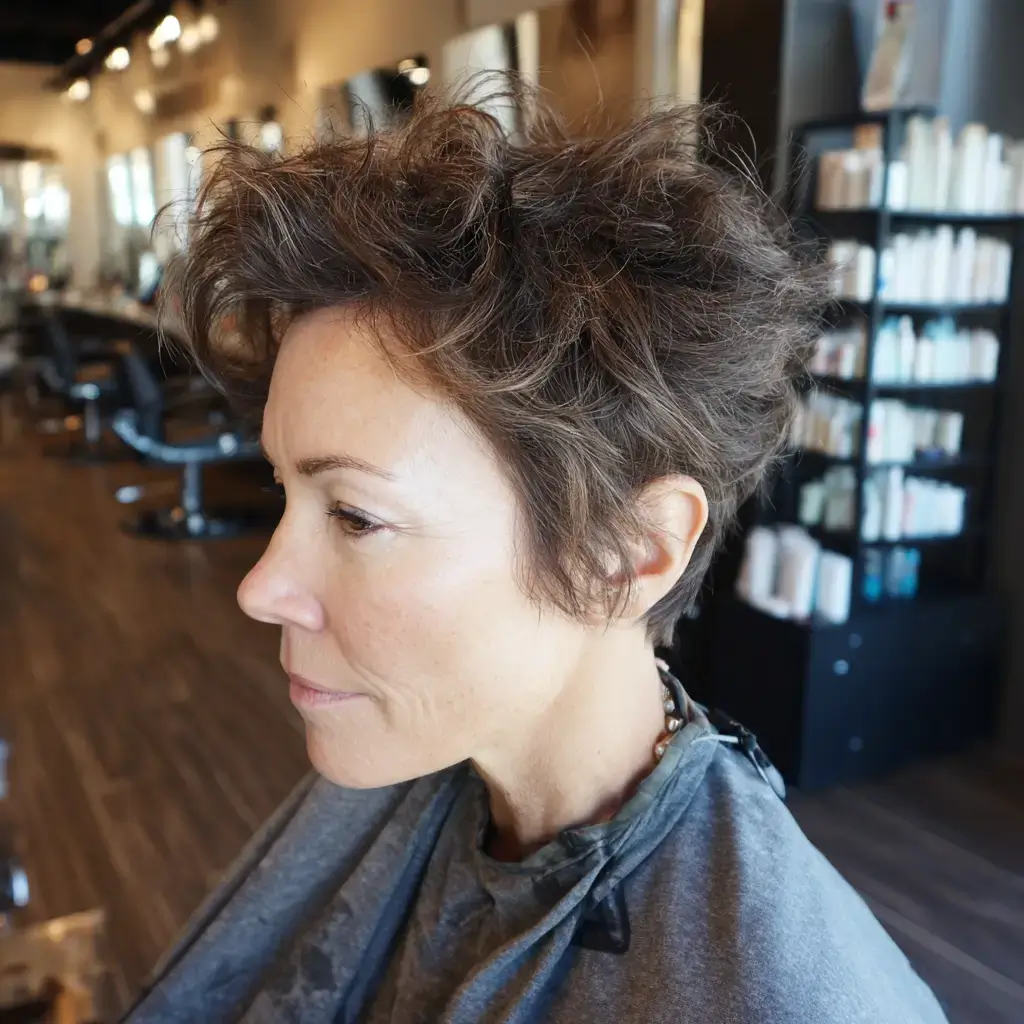
A textured top on a pixie shag is point cut all over so nothing sits flat. I cut the sides and back with scissor over comb on dry hair and point cut the top to three inches, roughing the ends with the point of the shears. It suits fine to medium density and oval or heart faces. Rub a matte paste between your palms and push the top up. Trim every four weeks.
30. Pixie Shag for Straight Hair
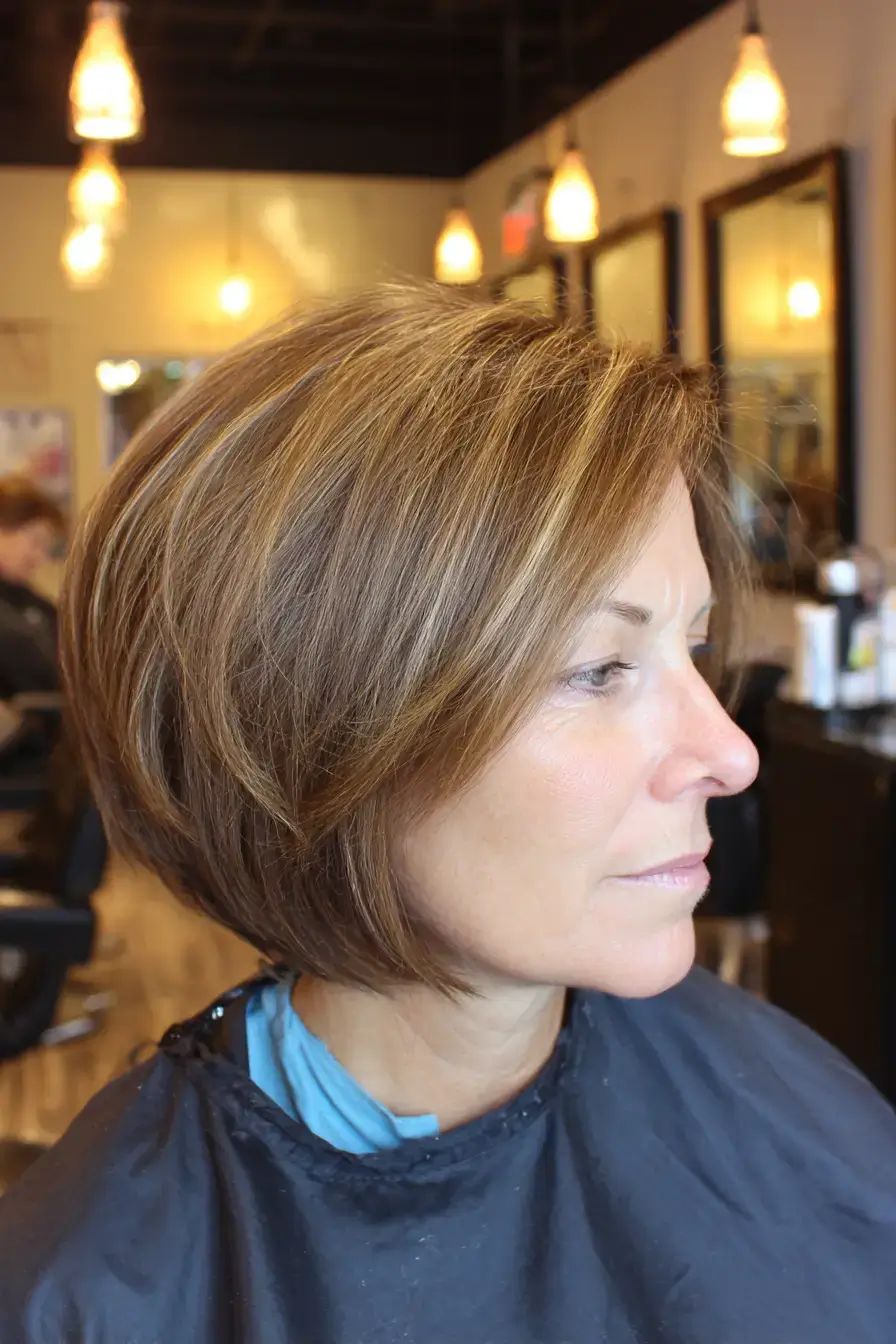
Straight hair over 50 takes a pixie shag cut dry, because wet cutting shrinks the layers once it dries. I cut the sides short with scissor over comb on dry hair, point cut the top to three inches, and razor the ends. It suits fine to medium density and oval or long faces. Blow-dry with a flat brush and finish with a dry texture spray. Trim every five weeks and gloss every eight.
31. Pixie Shag With Tapered Nape
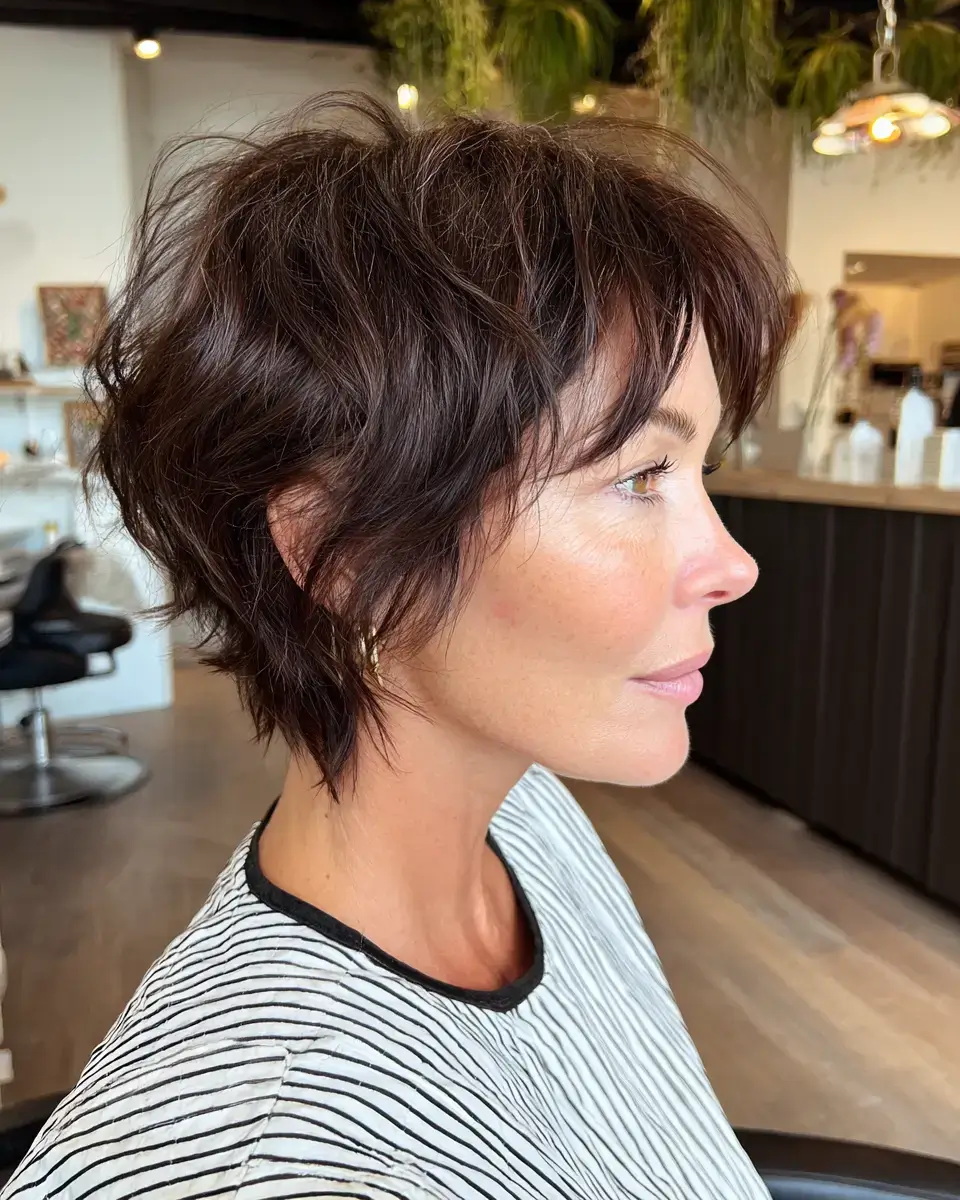
A tapered nape on a pixie shag shows the neck and keeps the weight at the top. I taper the nape with scissor over comb on dry hair, let the sides fall to the ear, and point cut choppy layers through the crown. It suits fine to medium density and round or square faces. Blow-dry with a flat brush pushing the top forward. Trim every four weeks because the nape shows growth first.
32. Pixie Shag With Soft Waves

Soft waves on a pixie shag give fine hair the look of twice the density. I cut the sides short with scissor over comb on dry hair and leave the top at four inches with razored ends. It suits fine to medium density and oval or long faces. Wave the top with a three quarter inch iron, scrunch a sea salt spray through, and shake it out. Trim every five weeks.
33. Pixie Shag Tucked Behind the Ears
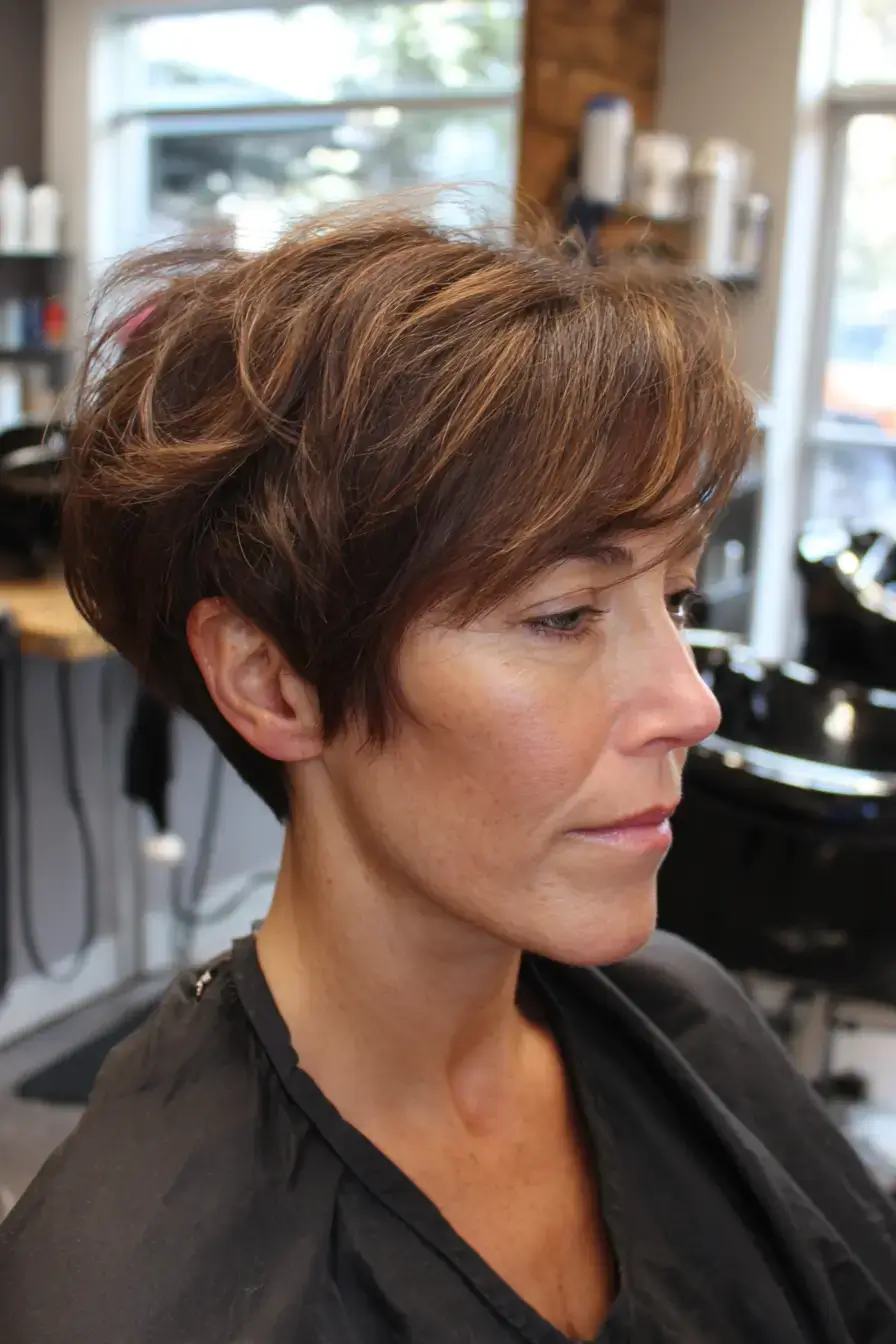
Tucking a pixie shag behind the ears shows the crown layers. I cut the back with graduation on dry hair, point cut choppy layers through the top, and cut the sides to the ear so they tuck without sticking out. It suits fine to medium density and oval or heart faces. Air-dry with a light cream and tuck both sides. Trim every five weeks and gloss every eight.
34. Pixie Shag With Money Piece
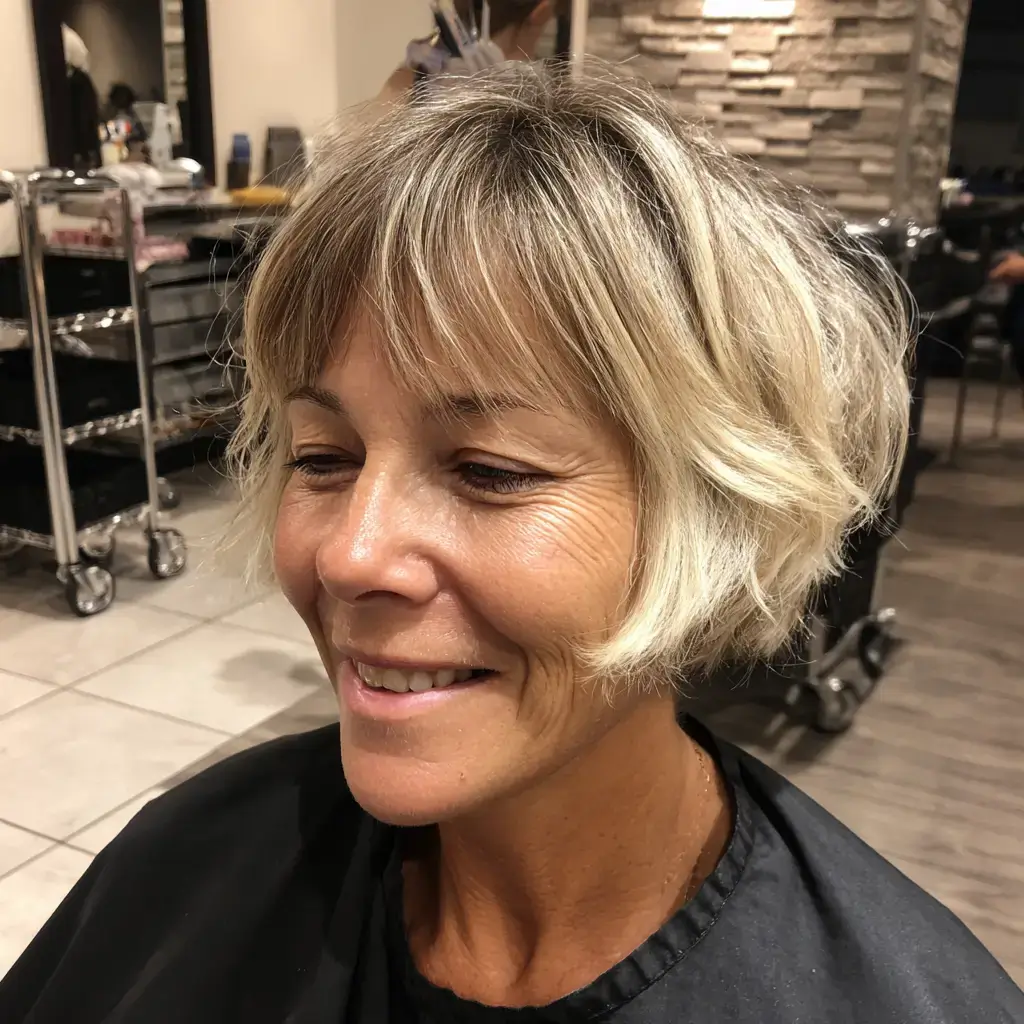
A money piece on a pixie shag brightens the fringe against a dark base. I cut the sides short with scissor over comb on dry hair, point cut the top to three inches, then lighten the front section from root to end. It suits fine to medium density and most face shapes. Blow-dry the fringe forward with a flat brush. Trim every five weeks and refresh the money piece every ten.
35. Pixie Shag for Curly Hair

Curly hair over 50 takes a pixie shag cut dry, curl by curl, so the shape holds. I cut the sides short with scissor over comb on dry curls and point cut the top curl by curl to three inches, leaving the crown curls for lift. It suits medium density and type 3A to 3B curls. Apply a curl cream to wet hair, scrunch, and diffuse on low. Trim every six weeks.
36. Pixie Shag With Volume at the Crown
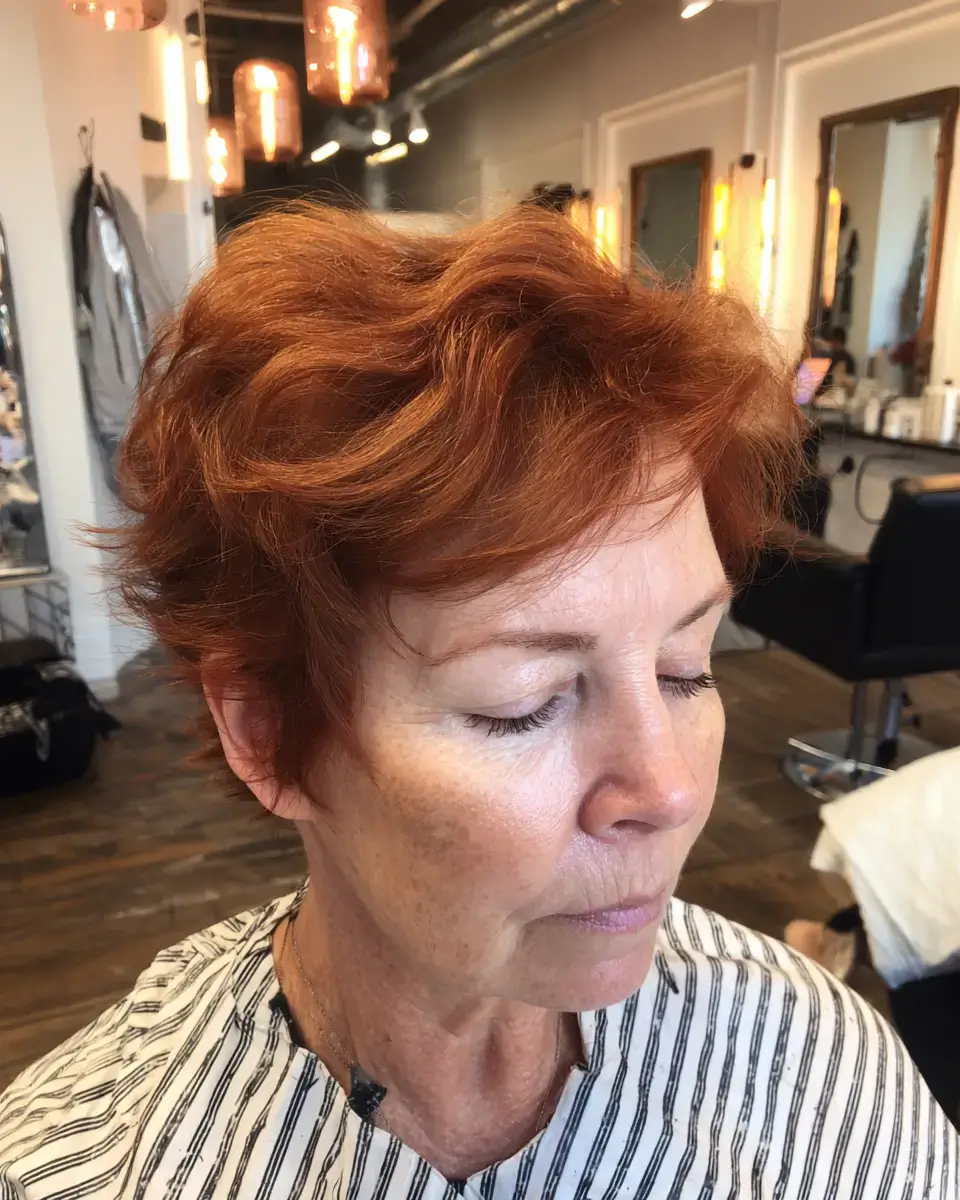
Volume at the crown on a pixie shag comes from short layers, not more hair. I cut the sides short with scissor over comb on dry hair and point cut two short crown layers at the occipital bone so they stand. It suits fine to medium density and round or square faces. Blow-dry upside down with a root lifting mousse, then push the top forward. Trim every five weeks and gloss every eight.
37. Pixie Shag With Blunt Fringe
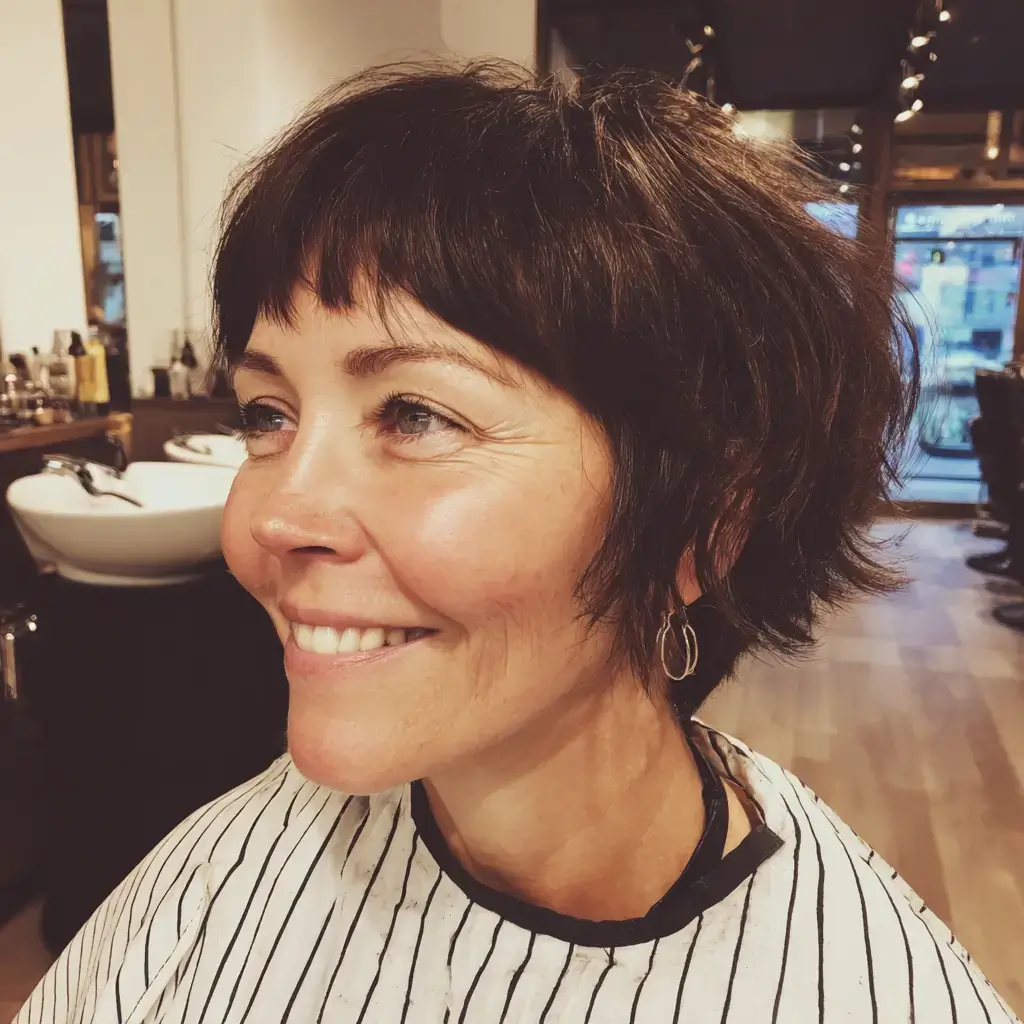
A blunt fringe on a pixie shag gives the eye one clean line against choppy layers. I cut the sides short with scissor over comb on dry hair, chop the layers through the top, and cut the fringe at the brow with a straight line. It suits medium to thick density and oval or long faces. Blow-dry the fringe flat with a small brush. Trim the fringe every four weeks.
38. Long Pixie Shag

A long pixie shag keeps the top at four inches and the fringe to the cheekbone, which is the easiest pixie shag haircut over 50 to grow out. I cut the sides with scissor over comb on dry hair, leave the top at four inches with razored layers, and point cut the fringe to the cheekbone. It suits fine to medium density and oval or round faces. Blow-dry the top back with a round brush. Trim every six weeks.
39. Pixie Shag With Point Cut Sides

Point cut sides on a pixie shag keep the ears covered with soft ends. I cut the back with graduation on dry hair, point cut the sides to the ear with the shears vertical, and chop the layers through the top. It suits fine to medium density and oval or square faces. Rough-dry with a texture spray and push the sides forward. Trim every five weeks and gloss every eight.
40. Platinum Pixie Shag
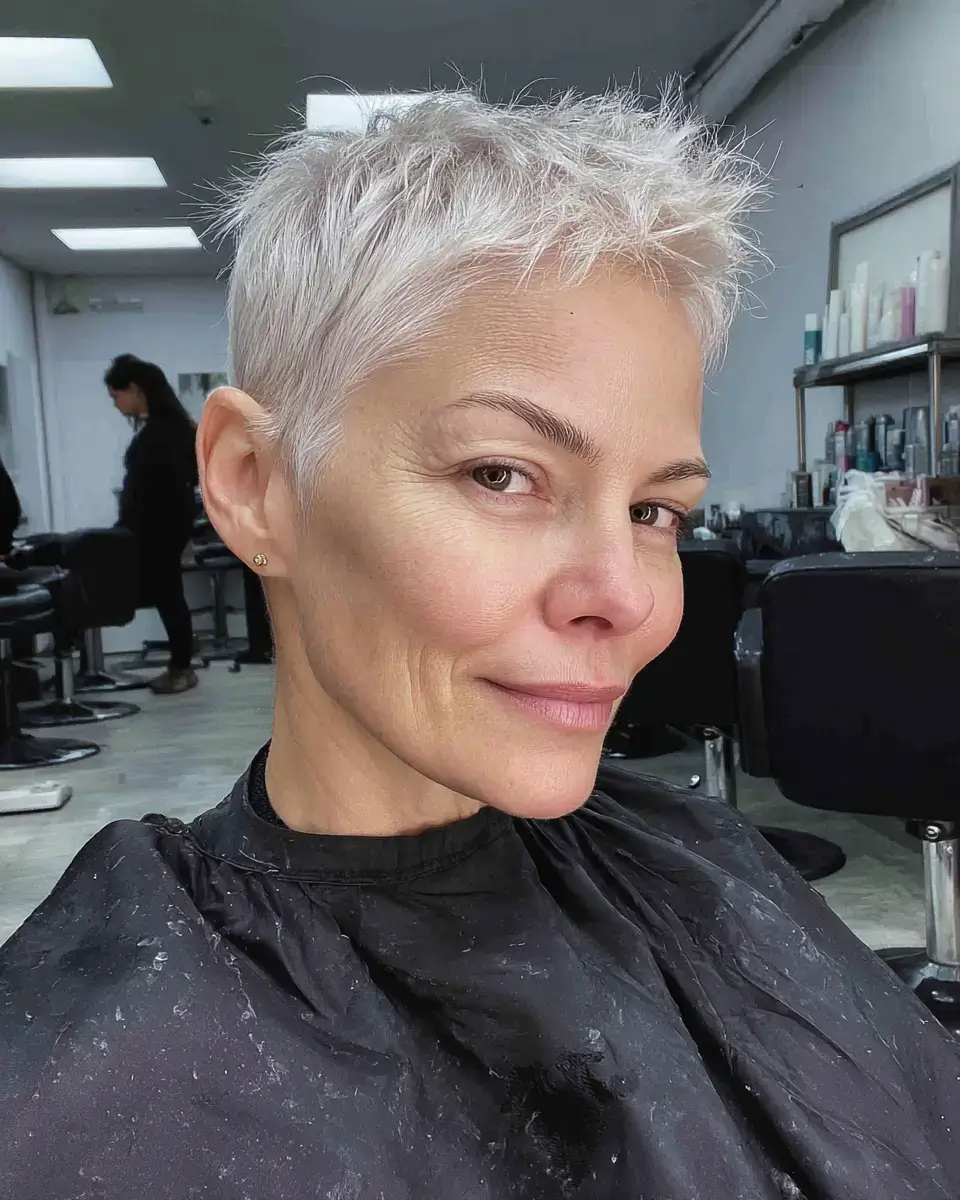
Platinum on a pixie shag is the least work of any platinum because there is so little hair to lighten. I cut the sides short with scissor over comb on dry hair, point cut the top to three inches with razored ends, then lift the whole head to platinum and tone at the bowl. It suits fine to medium density and oval or heart faces. Rough-dry with a texture spray. Trim and retouch every four weeks.
41. Pixie Shag With Feathered Layers
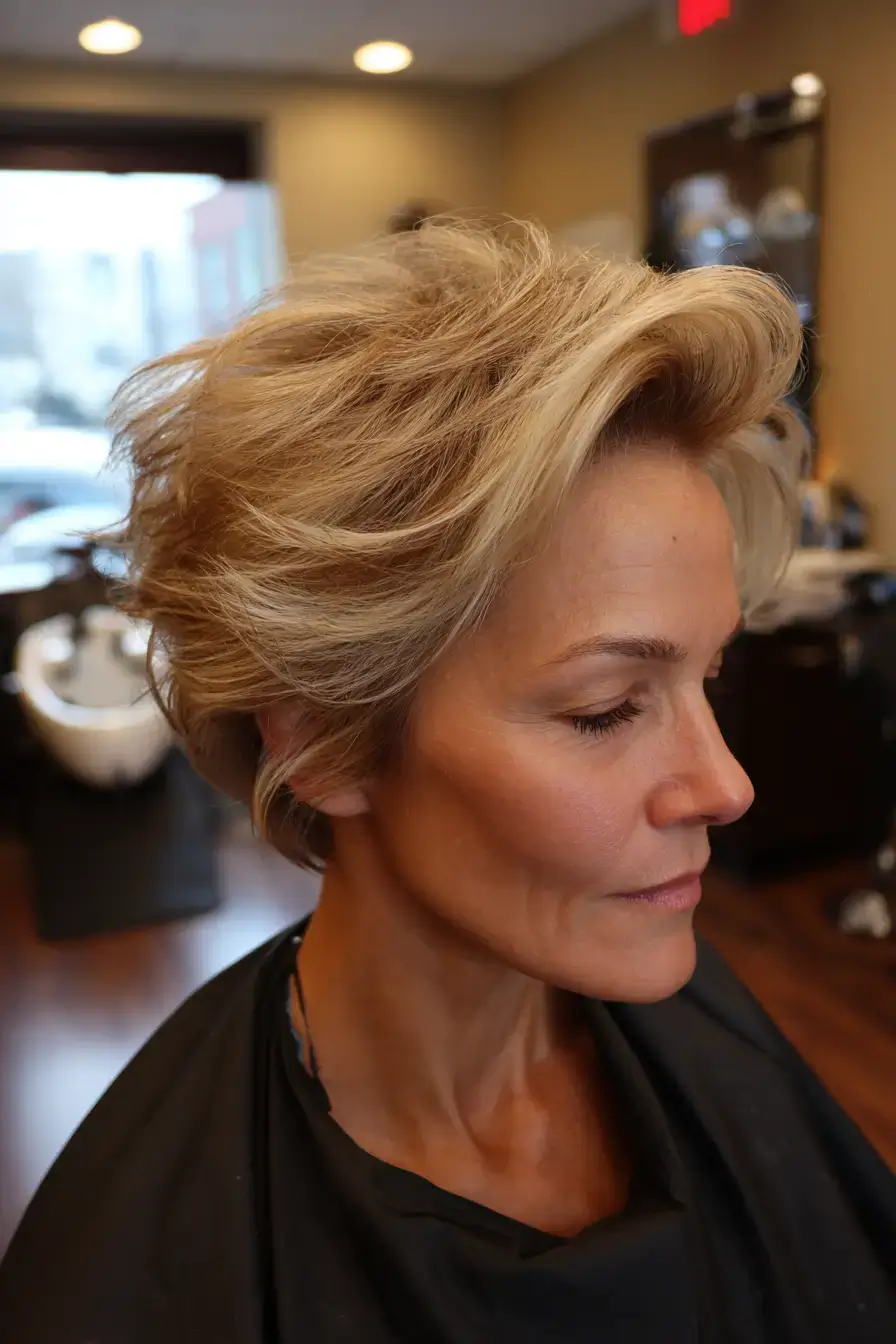
Feathered layers on a pixie shag are blown back off the face so they blend into the sides. I cut the sides with scissor over comb on dry hair, point cut the top to three and a half inches, and feather the front layers back with point cutting. It suits fine to medium density and most face shapes. Blow-dry the top back with a round brush and set with hairspray. Trim every five weeks.
42. Pixie Shag With Internal Layers

Internal layers under a pixie shag remove bulk so the outside stays smooth on medium to thick hair. I cut the sides with scissor over comb on dry hair, slide two layers through the interior of the top, and point cut the outside to three inches. It suits medium to thick density and oval or round faces. Air-dry with a light cream. Trim every five weeks and gloss every eight.
43. Shaggy Pixie With Flipped Ends
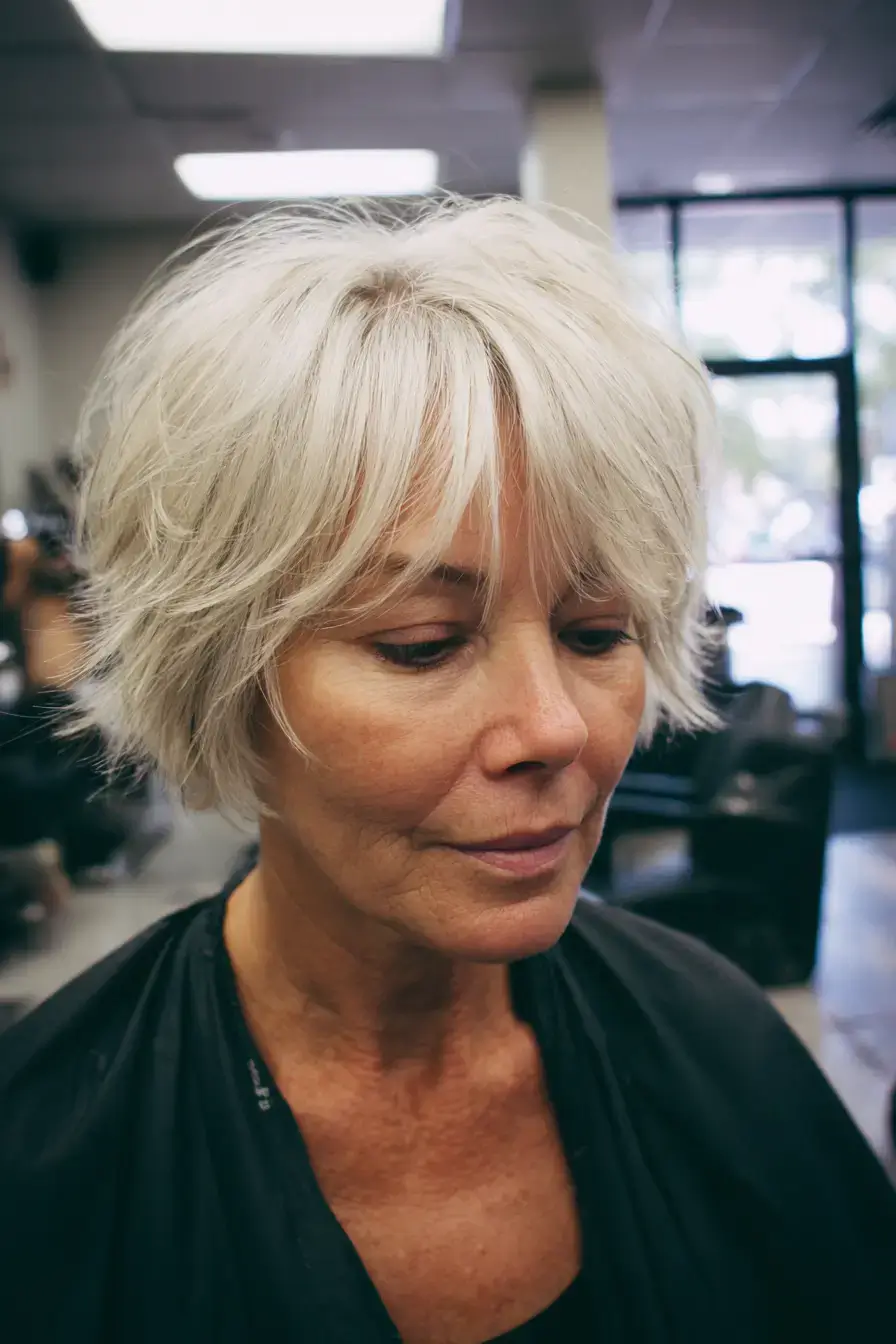
Flipped ends on a shaggy pixie give the layers a direction. I cut the back with graduation on dry hair, point cut choppy layers through the top, and bevel the sides at the ear so they flip out. It suits fine to medium density and oval or long faces. Blow-dry the sides out with a small round brush rolling away from the face. Trim every five weeks and gloss every eight.
44. Pixie Shag for Women Over 60
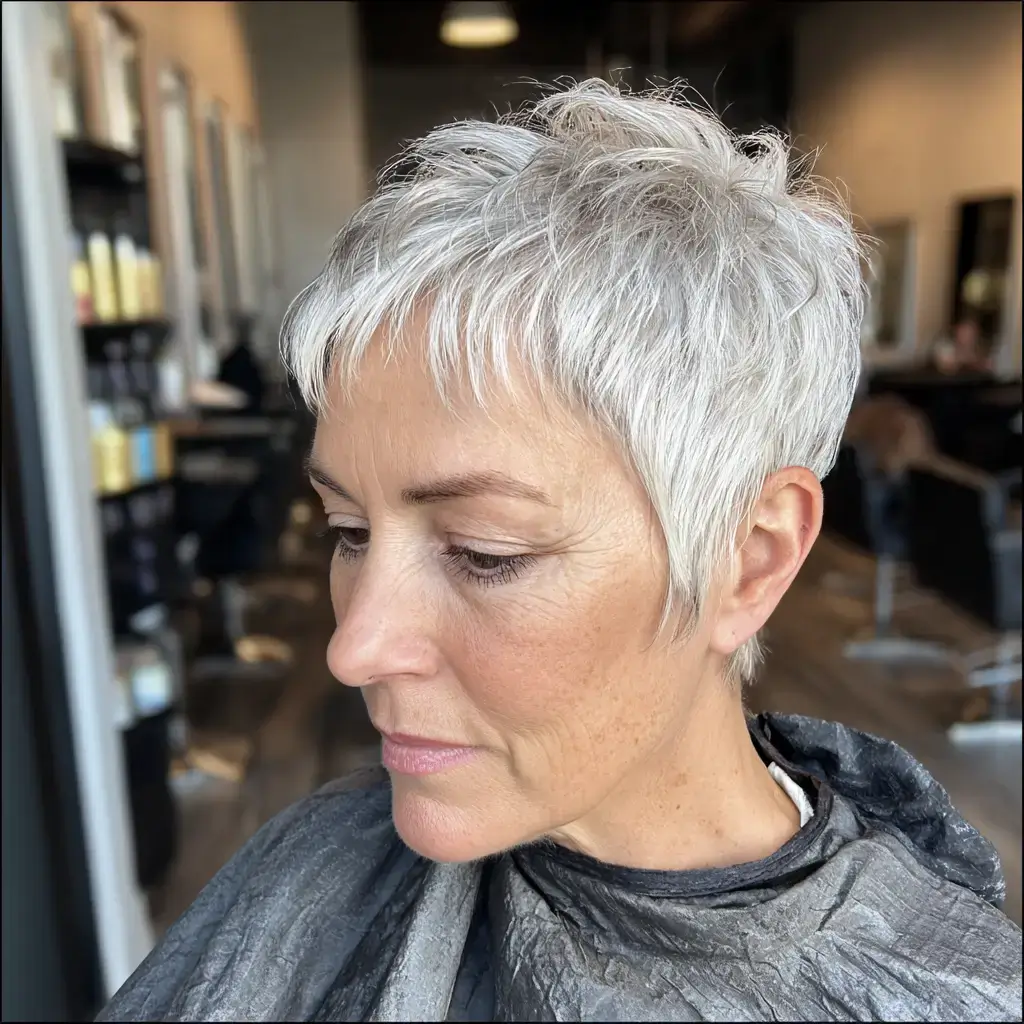
A pixie shag for women over 60 is cut a little longer at the top so the crown keeps density. I cut the sides short with scissor over comb on dry hair, point cut the top to three and a half inches, and razor the ends. It suits fine to medium density and most face shapes. Blow-dry with a flat brush pushing the top forward and finish with a light paste. Trim every five weeks.
45. Pixie Shag With Gray Streak
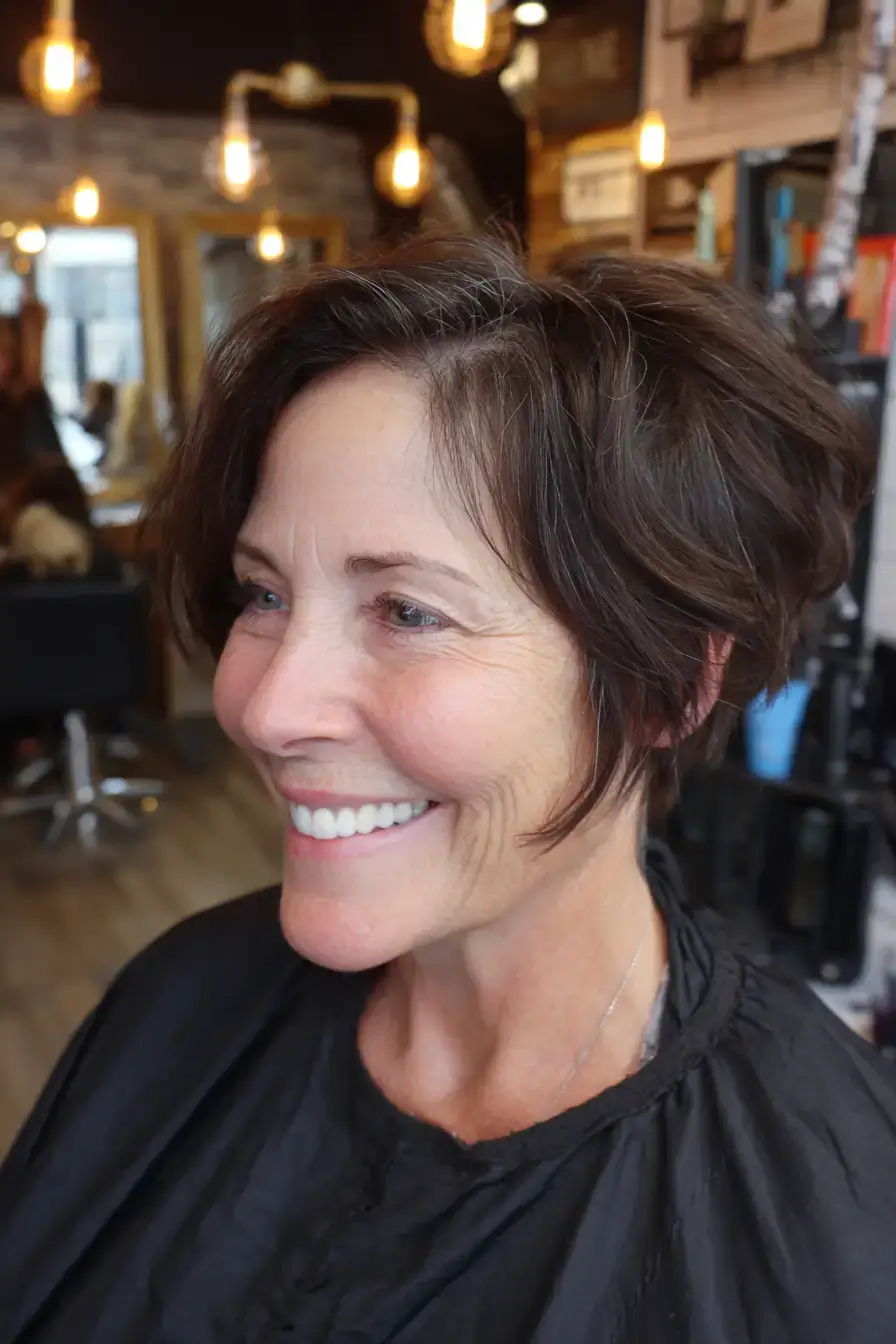
A gray streak left natural through the fringe of a pixie shag reads as a decision, not neglect. I cut the sides short with scissor over comb on dry hair, point cut the top to three inches, then color everything except the one gray section at the front. It suits fine to medium density and most face shapes. Rough-dry with a texture spray. Trim every five weeks and retouch every six.
46. Low Maintenance Pixie Shag
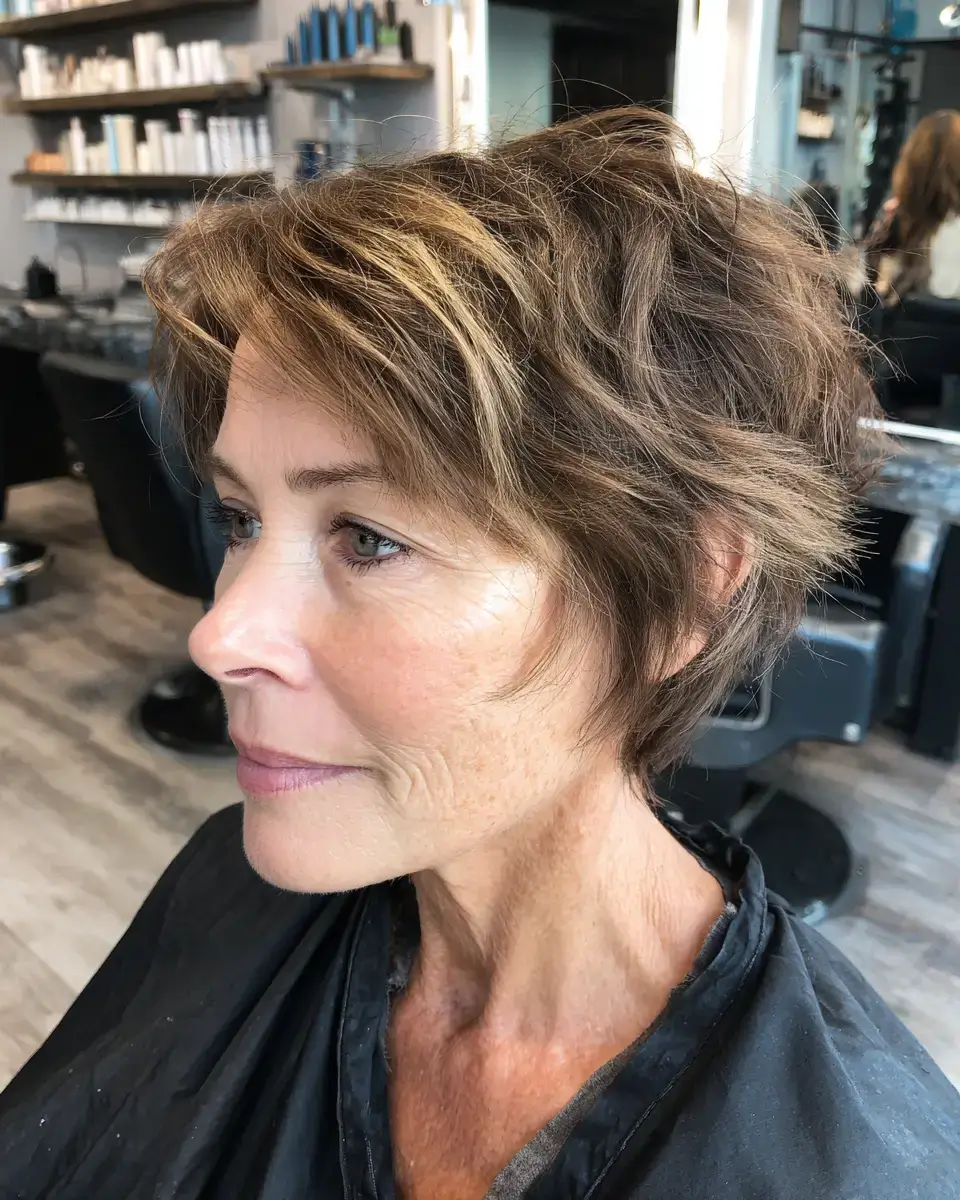
The low maintenance version of a pixie shag haircut over 50 is a chic shag haircut over 50 that air-dries with one product. I cut the sides short with scissor over comb on dry hair, point cut the top to three inches, and razor the ends. It suits fine to medium density and most face shapes. Apply a light cream to damp hair, push the top forward, and leave it. Trim every six weeks.
Three inches of point cut layers on top and a dab of matte paste worked through is all a pixie shag needs on a work morning, and the short sides keep the neckline clean through the day. For pixie shag haircut over 50 I keep the crown long enough to brush forward so the shape softens the face. A finger-comb is the only styling most days ask for. oval face haircuts stay the shape I reach for most, and the same length rules apply whether the hair is thick, fine, silver, or round-faced.